I’m rebuilding 45 year old electric motors, part of the rebuild of the mower deck of an antique electric tractor. This is an example of the level of corrosion we are talking about - unsurprisingly, this bearing does not move at all.
That’s all rust, no dirt. The metal shield’s eaten through in places.
I’m doing OK with fabricating disassembly jigs and through-bolts, I’ve got sources for upgraded bearings and brushes, the commutators clean up OK and the stator permanent magnets are intact and solidly bonded to the casings. But these motors have a reputation for developing sneaky shorts in the armatures, that my meters aren’t sensitive enough to pick up with caveman testing, and nobody I know has an armature growler, and growlers are too expensive for me to buy for the little amount of use I’d get out of one.
###Has anyone here built a DIY growler? @nixiebunny or @RossinDetroit or @shaddack maybe? Some Guy On the Internet™ has text here and there are pictures here and there’s a 1938 Popular Mechanics how-to here but that’s about all I’ve found.
Pedro the Cruel has obtained a microwave oven transformer and stripped the secondary winding from it. This should make it unnecessary to find properly varnished wire for the primary; as long as we can manage to saw through the stacked iron plates without cutting into the existing coil.
While waiting for a mutually convenient time to work with Pedro on a growler, I’ve been replacing bearings. Pics soon
New bearings were purchased from Clean Power Supply over in Amish country, along with new brushes and a couple of Klixons. There’s something weirdly appropriate about buying electric tractor parts from a guy whose neighbors travel by horse and buggy, and Harold’s a good man, so I prefer to buy from him rather than a zaibatsu even though these are standard sized light metric bearings.
These are going to live in the shop freezer for a while, to shrink them. I’ll be placing them in the motor end caps first, which I’ll heat to make them expand, and then once they are firmly and squarely seated I’ll freeze the armatures and heat everything else for final assembly.
One of the bearings stuck in the commutator end cap, which is a blind hole so you can’t knock it out from the back with a hammer.
I decided to drive it out hydraulically by packing the hole with stiff grease and hammering a reasonably tight fitting drift pin into it, forcing the grease up under the inner race and pushing the bearing up and out.
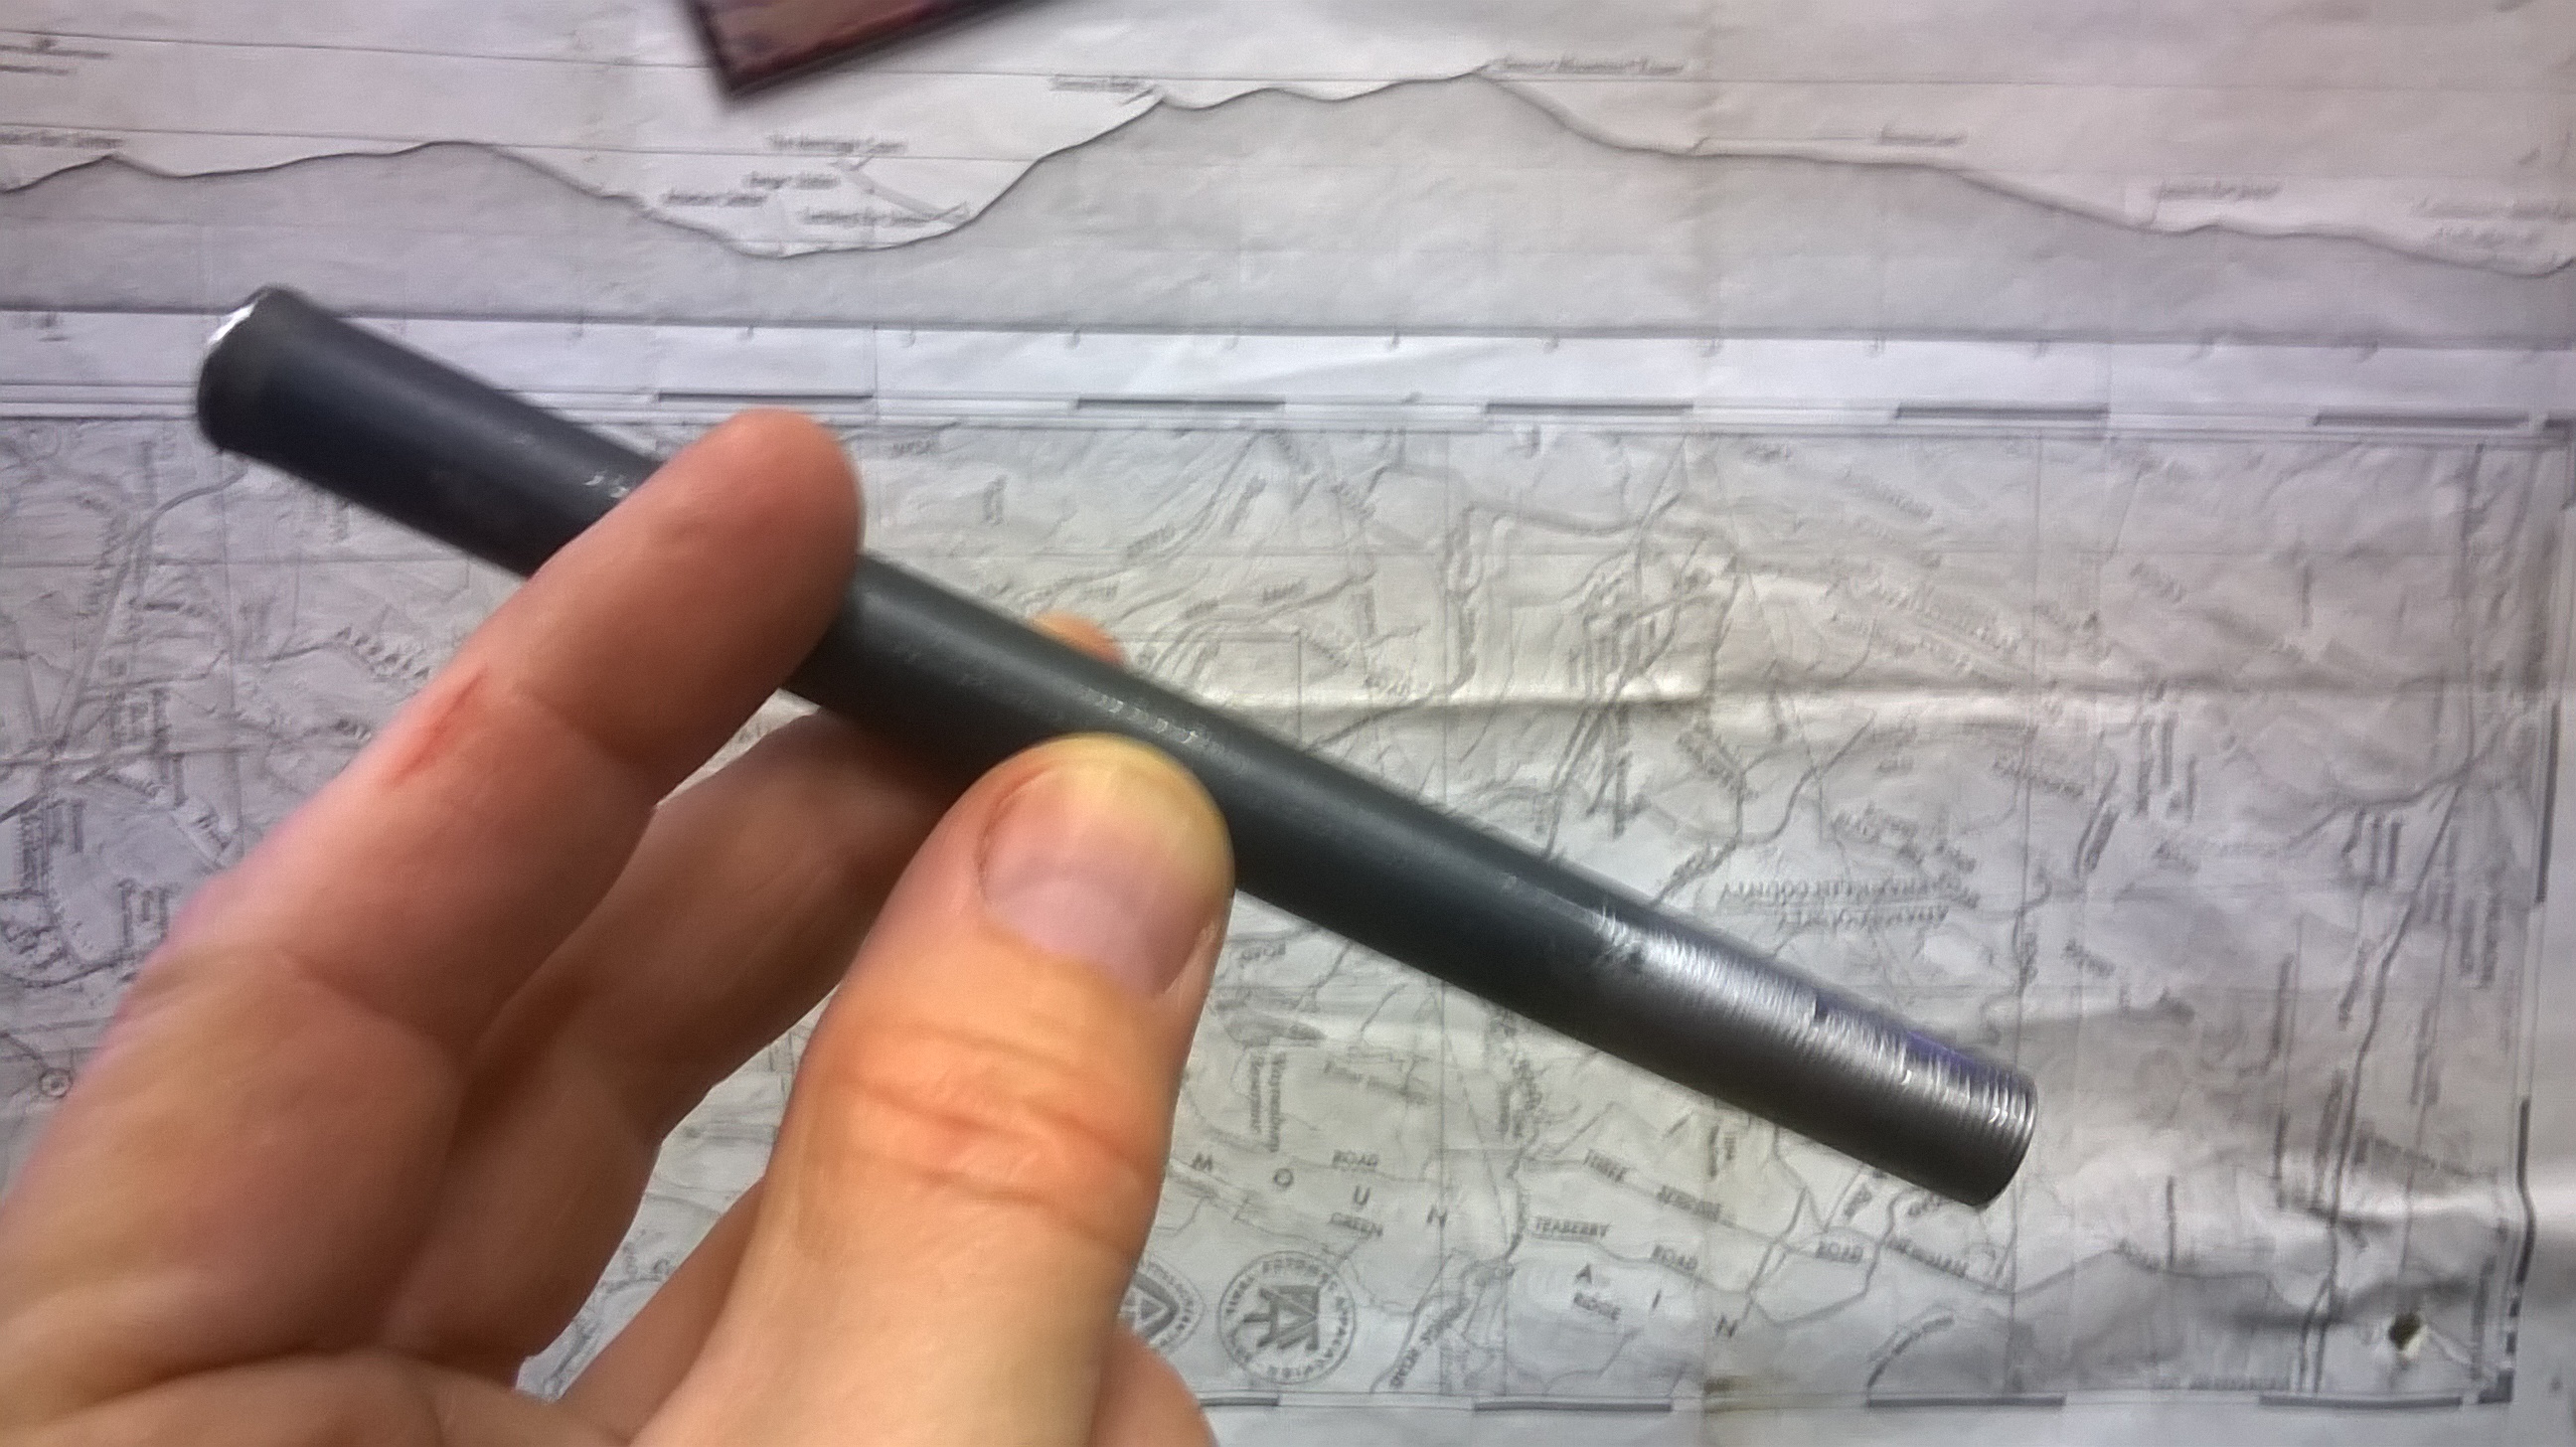
The center hole’s 12mm, so I figured I’d take a piece of half inch steel rod, cut it to length nice and square, then taper it to about 11.8mm-ish (half inch is 13mm).
I don’t have a metal cutting band saw, but I have a drill press and a Miller’s Falls hacksaw that’s about a hundred years old.
Right after I took the picture above, I stuck a piece of pvc pipe through an old crate and put it around the portion of rod sticking through the center hole of the drill press table. That way, when I cut off the piece for making a drift, I wouldn’t get two and a half feet of free spinning steel rod smashing into my knees.
It worked, my knees were happy, and most importantly this lazy man’s hacksaw method ensured a perfectly flat end on the drift, which I’m pretty sure is necessary.
I used a file to taper the drift, a cheap chinese dial micrometer (Ug say batteries bad! mechanical good!) to get the dimensions right, and plumbers’ crocus cloth to polish it up.
Drift complete, I stuffed the blind hole with axle bearing grease, and started pounding away with the hickory mallet my friend Red gave me years ago. It bounced back majestically but didn’t do much else, so I switched to a dead-blow hammer full of lead shot.
The original (late 1960s or early 70s) ball bearings are metal shielded, and I thought the shields would keep the thick, stiff grease from just pushing out between the balls and races. I was wrong. This bugger was stuck tight! The grease heated up from mechanical stress and squeezed out the hair-thin seams around the shields.
But I’d seen this youtube video where a guy does hydraulic displacement using wet paper instead of grease…
Bingo! Wet paper towels did the trick. I had to bang away at it for quite a while; counting the time it took me to make the drift, this was like a 2 hour job. But I’d rather spend two hours working with my hands than spend $75 on a craptacular Horrible Freight inside bearing puller kit that would take up shelf space forever, so I count it a win.
My neighbor up the hill offered to let me use his sandblaster, so I taped over the ends of the motor housings to protect the magnets and started blasting all the old lead paint and rust off… and then the sandblaster got all excited and exuberantly self-deconstructed when I was only half done.
And then my teenage daughter had a fender bender with our van, and because I am meaner than a hundred elephants, I made her fix it. Which took a lot longer than if I’d just hammered out the fender & bumper and replaced the headlight myself, let me tell you…
And then I got sidetracked into the upstairs linen closet project (nearly done, just paint)… but I plan to get back on this job next, because I think the sandblaster should be fixed by now!
I did get the new Klixons and I’ve had some success fabricating new plastic spacers from disposable food containers. I’ll scrounge up some pics.