It’s 300mm x 200mm, but it was just a test. The next one will be 700mm x 450mm and will include whole mountain range. It’ll be a coffee table.
That message is mostly intended for when discussion gets too heated up (mostly on political threads here, sometimes also threads about Apple products ). I think this is a perfect place for this conversation.
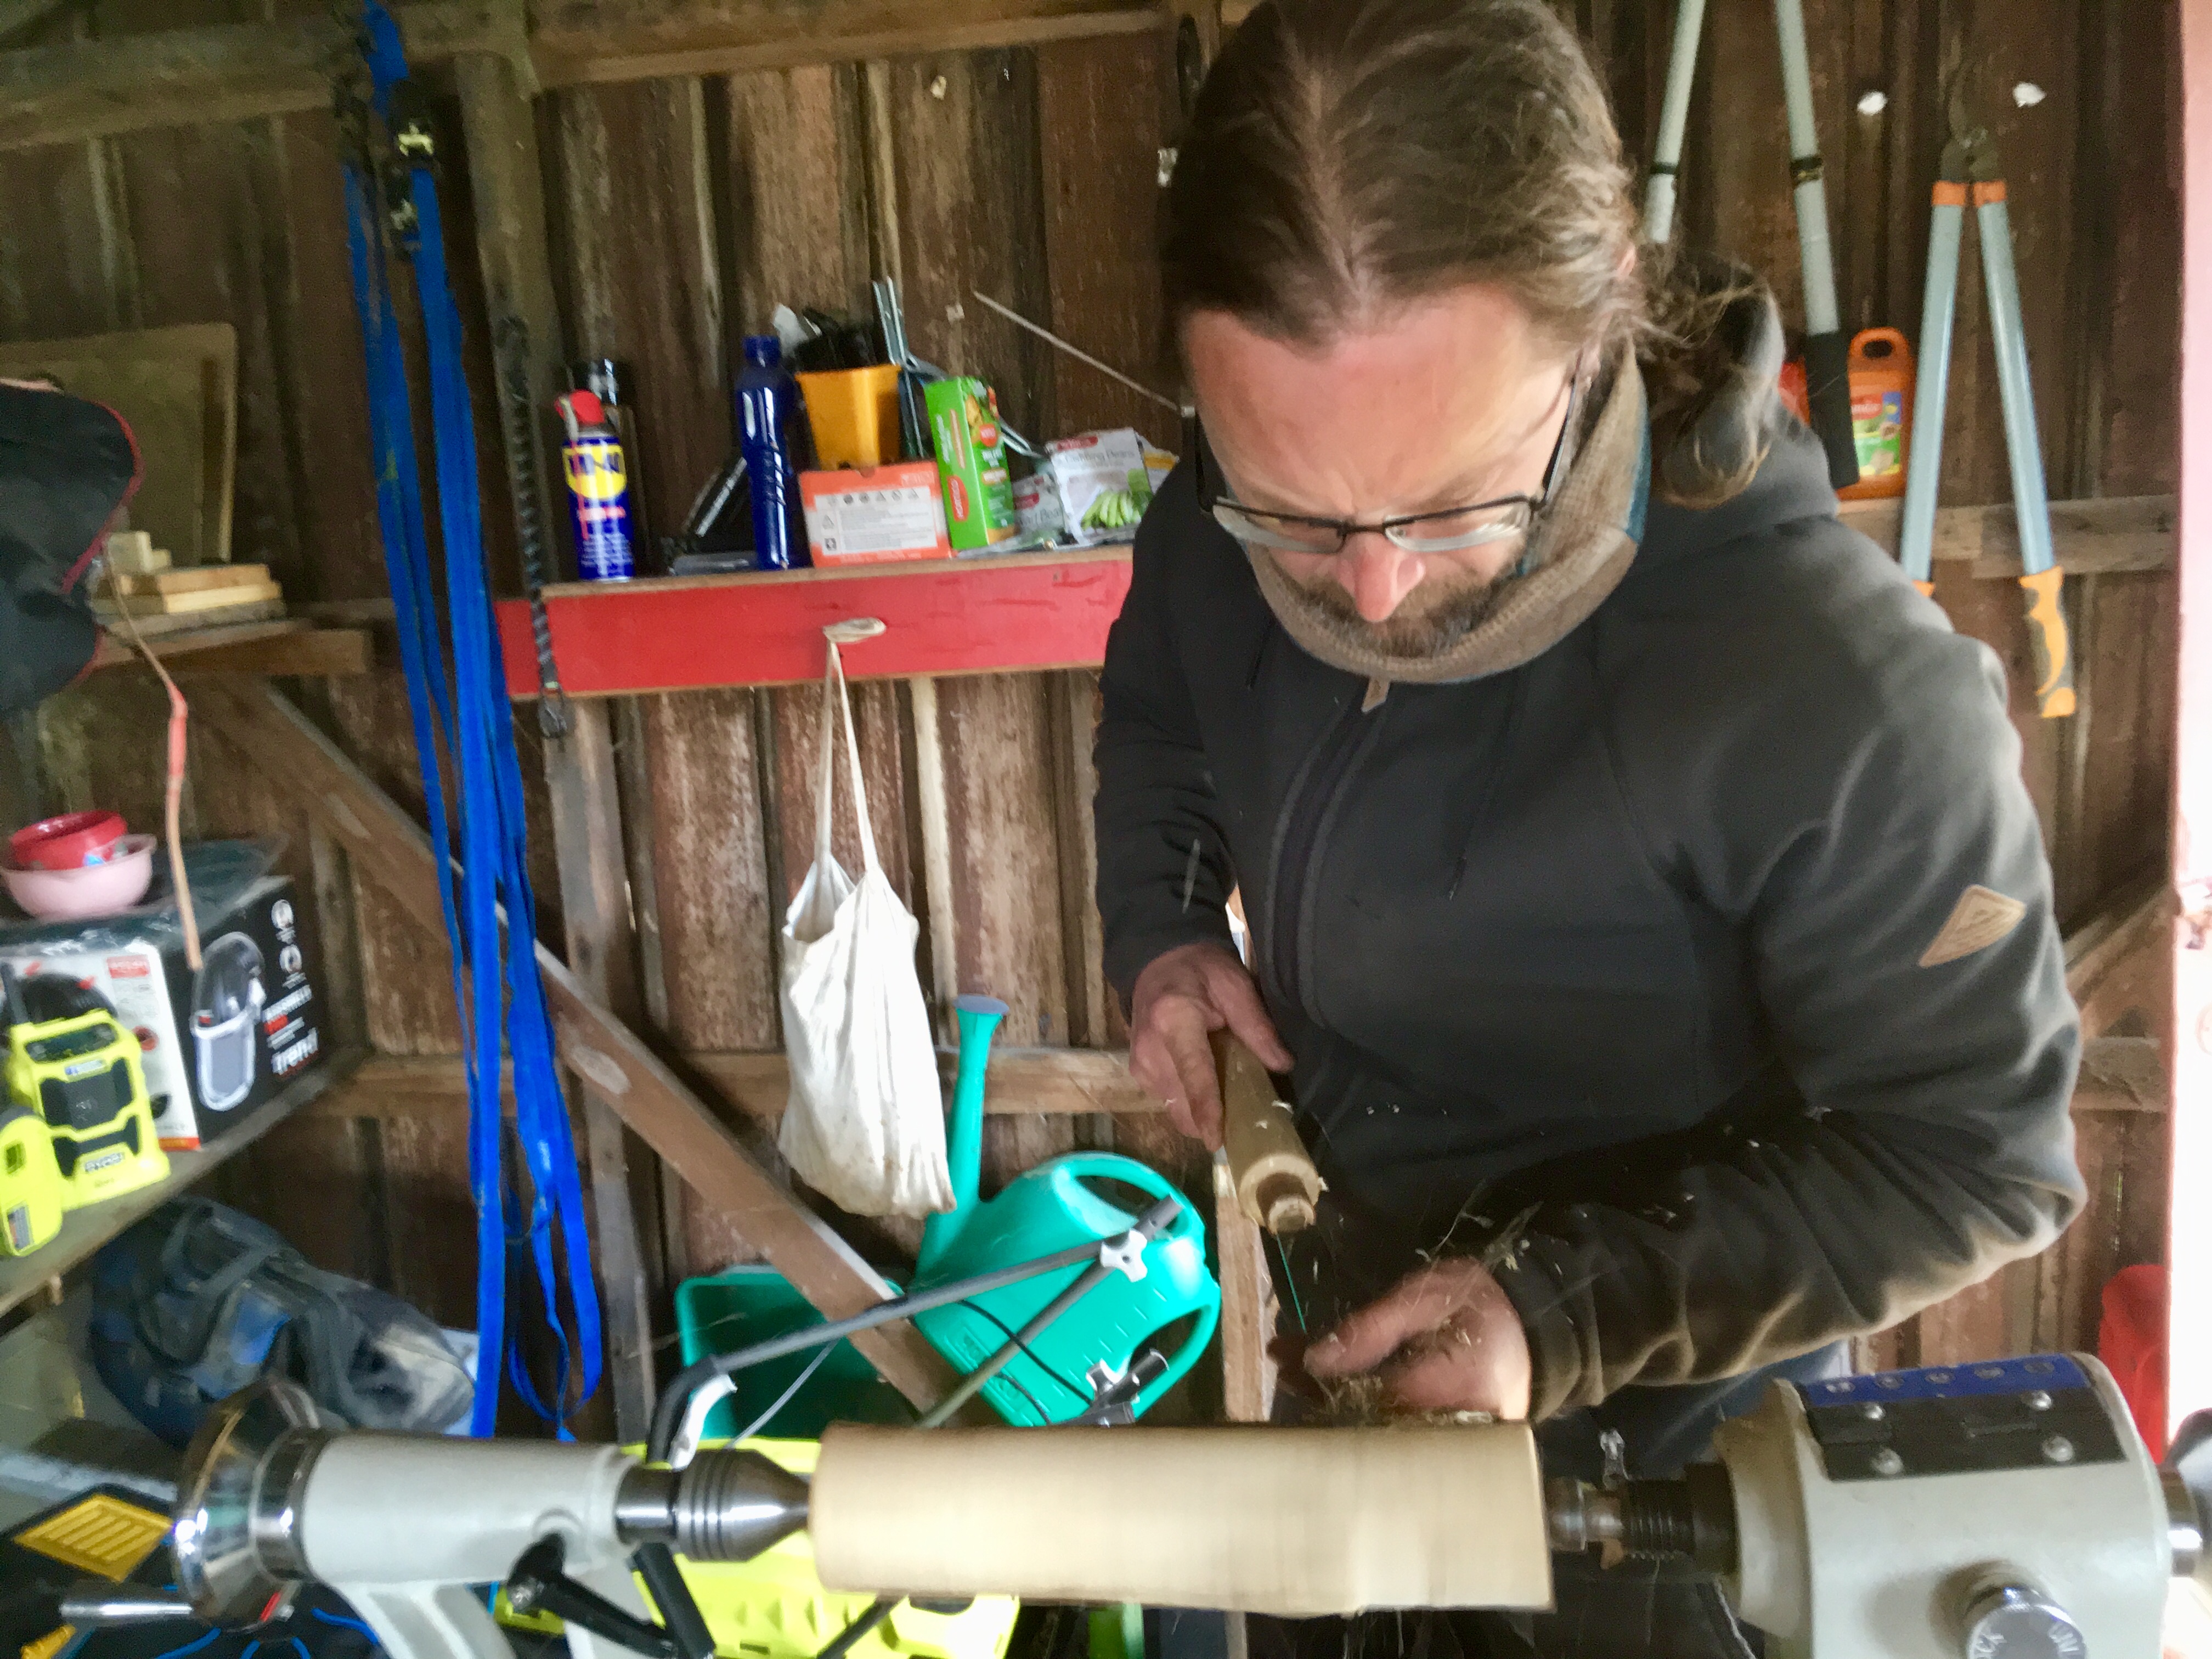
My first attempt at photogrammetry. I set up a little still life on a lazy susan, and took 150 photos from all different angles. Pulled it into a couple of different programs to turn it into a 3d printer stl file and printed a copy of it.
I’m making a sign for my friend’s garden gate. He’s a big Game of Thrones fan. The font matches the place name labels on the map shown in the GoT intro.
So, back on the subject of mapping, a friend of mine who’s a USGS geologist sent me an elevation file showing the bottom of the Missouri River over a short reach:
Darker = deeper. The flow goes from NW to SE. The white lines are wing dikes. The navigation channel is along the opposite bank. Those deep pockets are interesting – I guess they might be scour holes or something like that.
The scientists are using multibeam sonar to make these models. The river’s been high all summer (flooded for much of it), which actually makes the measurements easier: The wing dikes are well submerged and don’t pose as much hazard to the sonar device, and they’re able to get bank-to-bank coverage when the water’s high.
I’m hoping to tie this into my other 3D terrain carving projects, but the scale is different:
After a while on the Prednisone, I have experienced a major shift, and am working at getting into different patterns than the “survival mode” I’ve been in while suffering from the nasal polyps for the last 10+ years.
Because my life/art/financial struggles are so closely intertwined, I’ve decided to start my own thread in the vein as @Wanderfound or the late Princess Pricklepants.
However, those clamp-on wheels have proven to be a bit problematic. They’re supposed to clamp underneath the chines, but my hull doesn’t have nice sharp chines to clamp to.
So I’ve been clamping them to the lower of the two aluminium strips on the sides (which the previous owner installed in order to attach external flotation bags, but which I don’t use).
However, the clamps (a) have a nasty tendency to slip off when going over bumps, and (b) are gradually bending and tearing the flimsy aluminium strips. Eventually, they’ll fail completely.
It would also be nice to have a bit more ground clearance; what I have is just barely enough, and the hull tends to scrape the ground occasionally.
So, today I added a pair of small cleats to the outside of the hull in order to give the clamps a more solid grip:
Next job is to carve some wooden bits to streamline the hull cleats and prevent them from snagging weeds.
EDIT:
Minor boat disaster.
I was removing the superfluous aluminium strips, and of course dropped one of the nuts into the boat, where it immediately rolled underneath one of the braces where I couldn’t get it back out.
Never mind, thinks I; I’ll just use the magnet-on-a-stick trick.
This is when I discovered that the nuts were non-magnetic.
So, I removed the wheels, engine and fuel tank and rolled the boat upside down to get it out.
This is when I realised that I’d forgotten to remove the battery, which was not tied down.
The battery fell out, and snapped the wires to the fishfinder in the process.
So it looks like tomorrow I’ll need to find my soldering iron…
I live in a small fishing village in rural Tasmania with very limited local shopping options; I’d probably have to ride down to Launceston (50km away) to replace it. I might be able to find a replacement at Beaconsfield (only 5km away), but I’d have to buy a pack of five and they’d charge me $15 for them.
The bolts need to go back in place (or be replaced with rivets or somesuch) in order to plug the holes drilled in the hull.
Aluminum is super easy to cast, you can use damp sand molds (no messy oilsand required) and a steel can as a crucible, a hairdryer and a couple of bricks makes a hearth. Just keep track of the wind and don’t breathe the vapors.
If you cast a couple of aluminum shapes optimal for trailering, you could tap holes into them and run stainless bolts from the inside of the hull, it’d be very secure and sturdy… with your woodworking skills, you could easily turn out wooden models for the shapes. (And aluminum doesn’t damage regular woodworking saws, as people right here have taught me.)
This isn’t strictly “making”, but it’s close enough:
I finally solved the mystery of why my chimney has been so shit.
I got up on the roof, which is a somewhat sketchy job: it requires the use of my tallest ladder, which is a rickety old wooden thing, and you have to go one step higher than is strictly advisable. But it’s doable, even with my dodgy half-paralysed ankles.
Once I got up there, I discovered that the uppermost section of my chimney was 99% blocked by a cubic foot of solid creosote. I couldn’t get at it with the chimney sweep from beneath, because when the brush gets there it felt like you were hitting the top of the chimney and the bristles of the brush never made contact.
But it’s gone now; fifteen minutes bashing away with a wire brush successfully demolished it.