(edit: changed to the video link)
2 Likes
A solar powered pi is a vegatable pi just so you know.
2 Likes
@wrecksdart you made me realize I hadn’t posted an update.
The trackpad was catching too much interference, presumably from all the tape and probably the keyboard overlap over the top, too. It wasn’t tracking my fingers reliably or accurately. I tried separating the trackpad to an overbuilt foam wedge within a metal crayon tin for click stability. it was nice, but made for two things to remove from my lap to get up, and two things to replace. Plus, as with the original design, the clicks weren’t always clicking positively thru the feet.
I had to resign myself to using the trackpad as it was designed, fully resting on a flat surface. On a trip to Ross I scanned all the trays, bake pans, and cookie sheets and found a thin, lightweight bamboo cutting-board (2-pack for $5!). I sorted thru my junk pile and found the Garcia Y Vega cigar tube.

after I trimmed it, drilled it, and countersunk it, I got this:


I had plans to do a cigar tube for the trackpad, too, but the rubber feet really grip the bamboo even at severe angles. I still may (originally I thought I would hang the whole thing from a hook through the hole, but I can use the board to push away debris on my end-table so it wasn’t as necessary as I thought.)
I really just wish Apple made a bluetooth keyboard with the same trackpad and button that’s on my laptop and in the same place already built-in. Maybe they make one but it wasn’t for sale from the retailer I went to (I got re-furbs for the nice price.) I don’t need this whole big-assed trackpad.
7 Likes
I don’t think Schultz ever drew anyone from that perspective, but you could trim out or re-draw the arms and shoulders off of these.


But as Picasso taught us, multiple perspectives are OK. I don’t think putting his classic-profile-sitting-on-his-doghouse would be “wrong,” either.
2 Likes
[quote=“noahdjango, post:345, topic:67869, full:true”]But as Picasso taught us, multiple perspectives are OK.
[/quote]

10 Likes
I actually went with a Shapeoko 3. I started building it this last weekend and then I tried to cut my own finger off with a knife so I took the rest of the day off. ![]()
It is still waiting in the garage.
3 Likes
Prototyping is going well.

Hard to see in the picture but there is a decimal point on the 3rd digit.
The holes in the sockets for the center of the tubes is the perfect size for a Neopixel which make for some really cool backlighting. Here’s a video I took off it in a test mode:
18 Likes
The backlight is super pretty. I hadn’t even thought about that with my nixie clock design, and now you’ve made me completely rethink the aesthetics. Thanks. (Truly, thanks.)
5 Likes
Dogfighter built, just needs some Velcro tape to stick the battery on underneath.
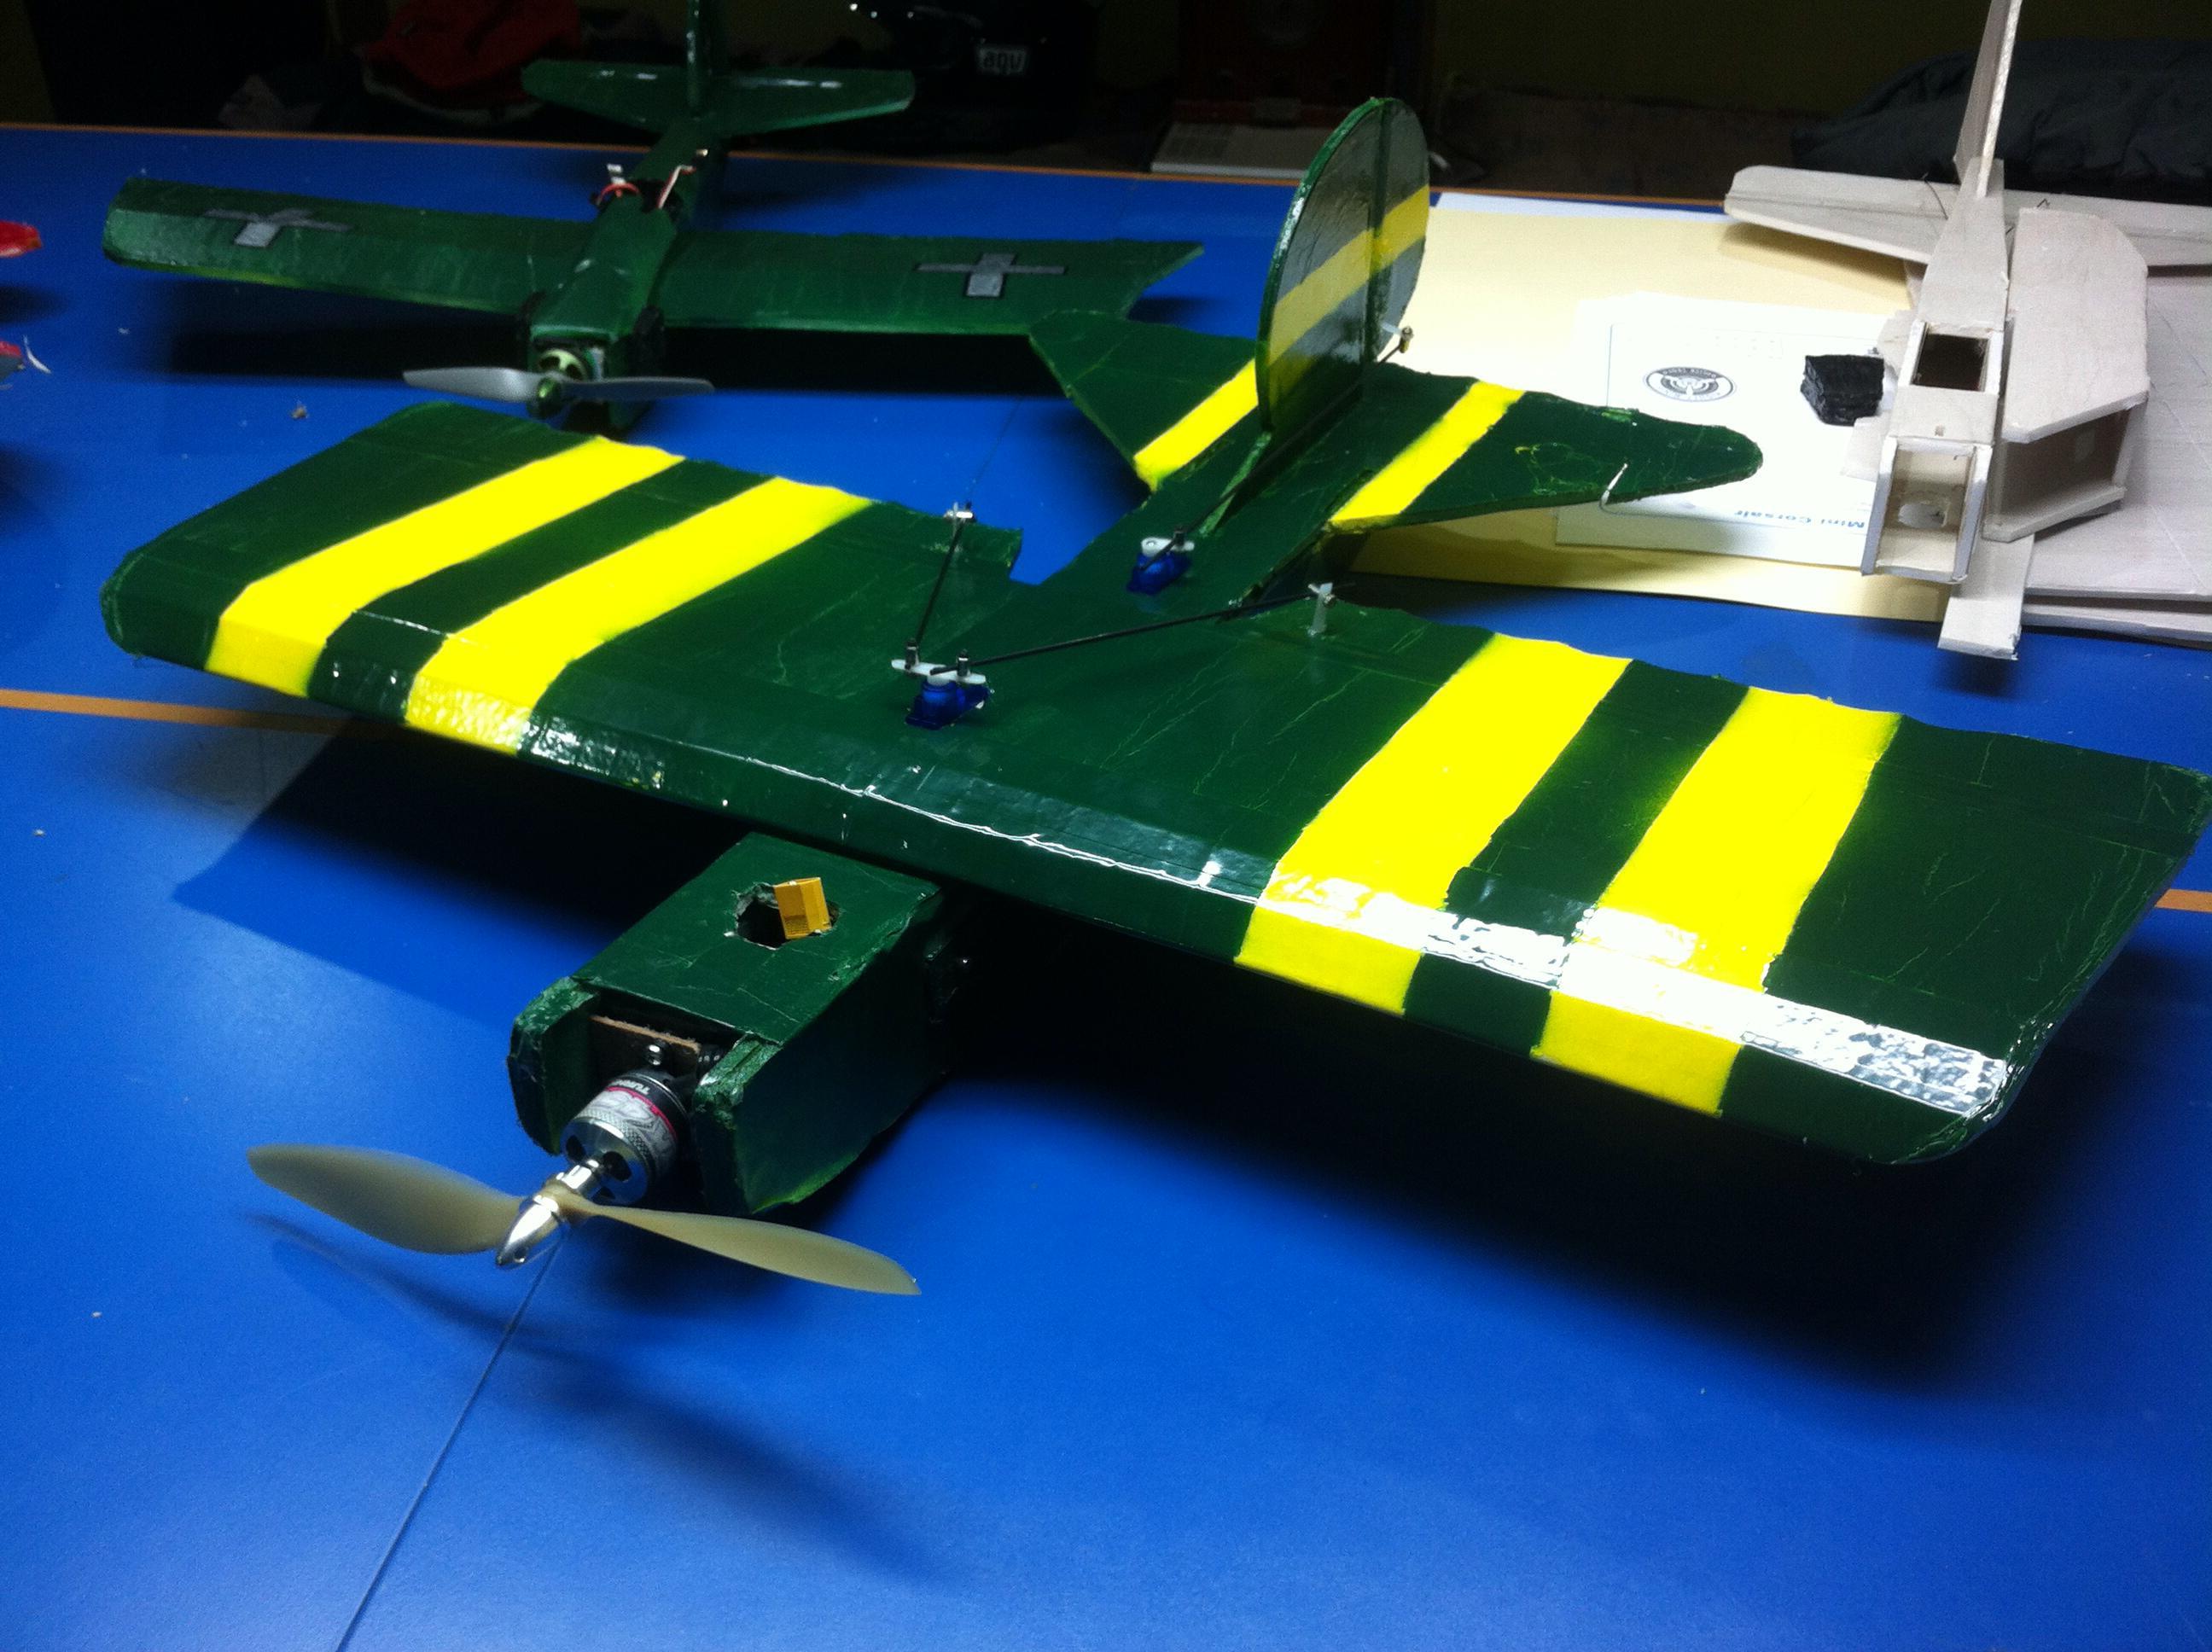
Much bigger prop and motor than the previous planes. Should be zoomy. 
10 Likes
Do I have the perfect cake for this:
4 Likes
I’m really pleased how it turned out. The hole in the center of the socket is the perfect size for a Neopixel. The center of the socket is where the pinch goes, so the super low profile SMD Neopixel doesn’t block anything. I used 3 of the breadboard size Neopixels (https://www.adafruit.com/products/1312) and just hot glued them into the bottom of the nixie socket. It’s actually a perfect fit sliding right into the area between the pins.
I think the reason it works so well is because there’s an opaque layer below the cathodes so rather than the super bright LED flooding the cathodes the surrounding glass acts as kind of a light tube creating this really cool glow around the whole thing. It doesn’t affect the visibility of the numbers at all.
I have a lot of stuff left to do. I need to figure out the permanent board layout. I’m actually using a lot more parts than I anticipated originally (I thought I could get away with 2 shift registers instead of 3, but 3 is much easier to program). Despite the tiny size of the Arduino Micro I’m using, it takes up a surprising amount of room when I’m trying to keep things as compact as possible. I may have to switch to an Arduino Pro Mini instead. Once I get a final board size settled on I can start getting the case designed in Visio so I can laser cut it. I also have a lot of code to write.
Now that I have basic counter/color/temperature stuff working I need to go past it being a prototype and actually get the functionality I want. I plan to have 3 different buttons: display mode, color mode, and reset.
The display mode switch will change between Celsius/Fahrenheit, barometer, sequential counter, and random counter. The color mode will switch between R/G/B, temperature-sensitive (red illumination for temperature going up, blue illumination for temperature going down, white for unchanging), rainbow mode, and of course “off”. The reset button will just reset the microcontroller.
Progress is slow since it’s hard to find time to work on this but I’ll post updates once I have 'em.
11 Likes
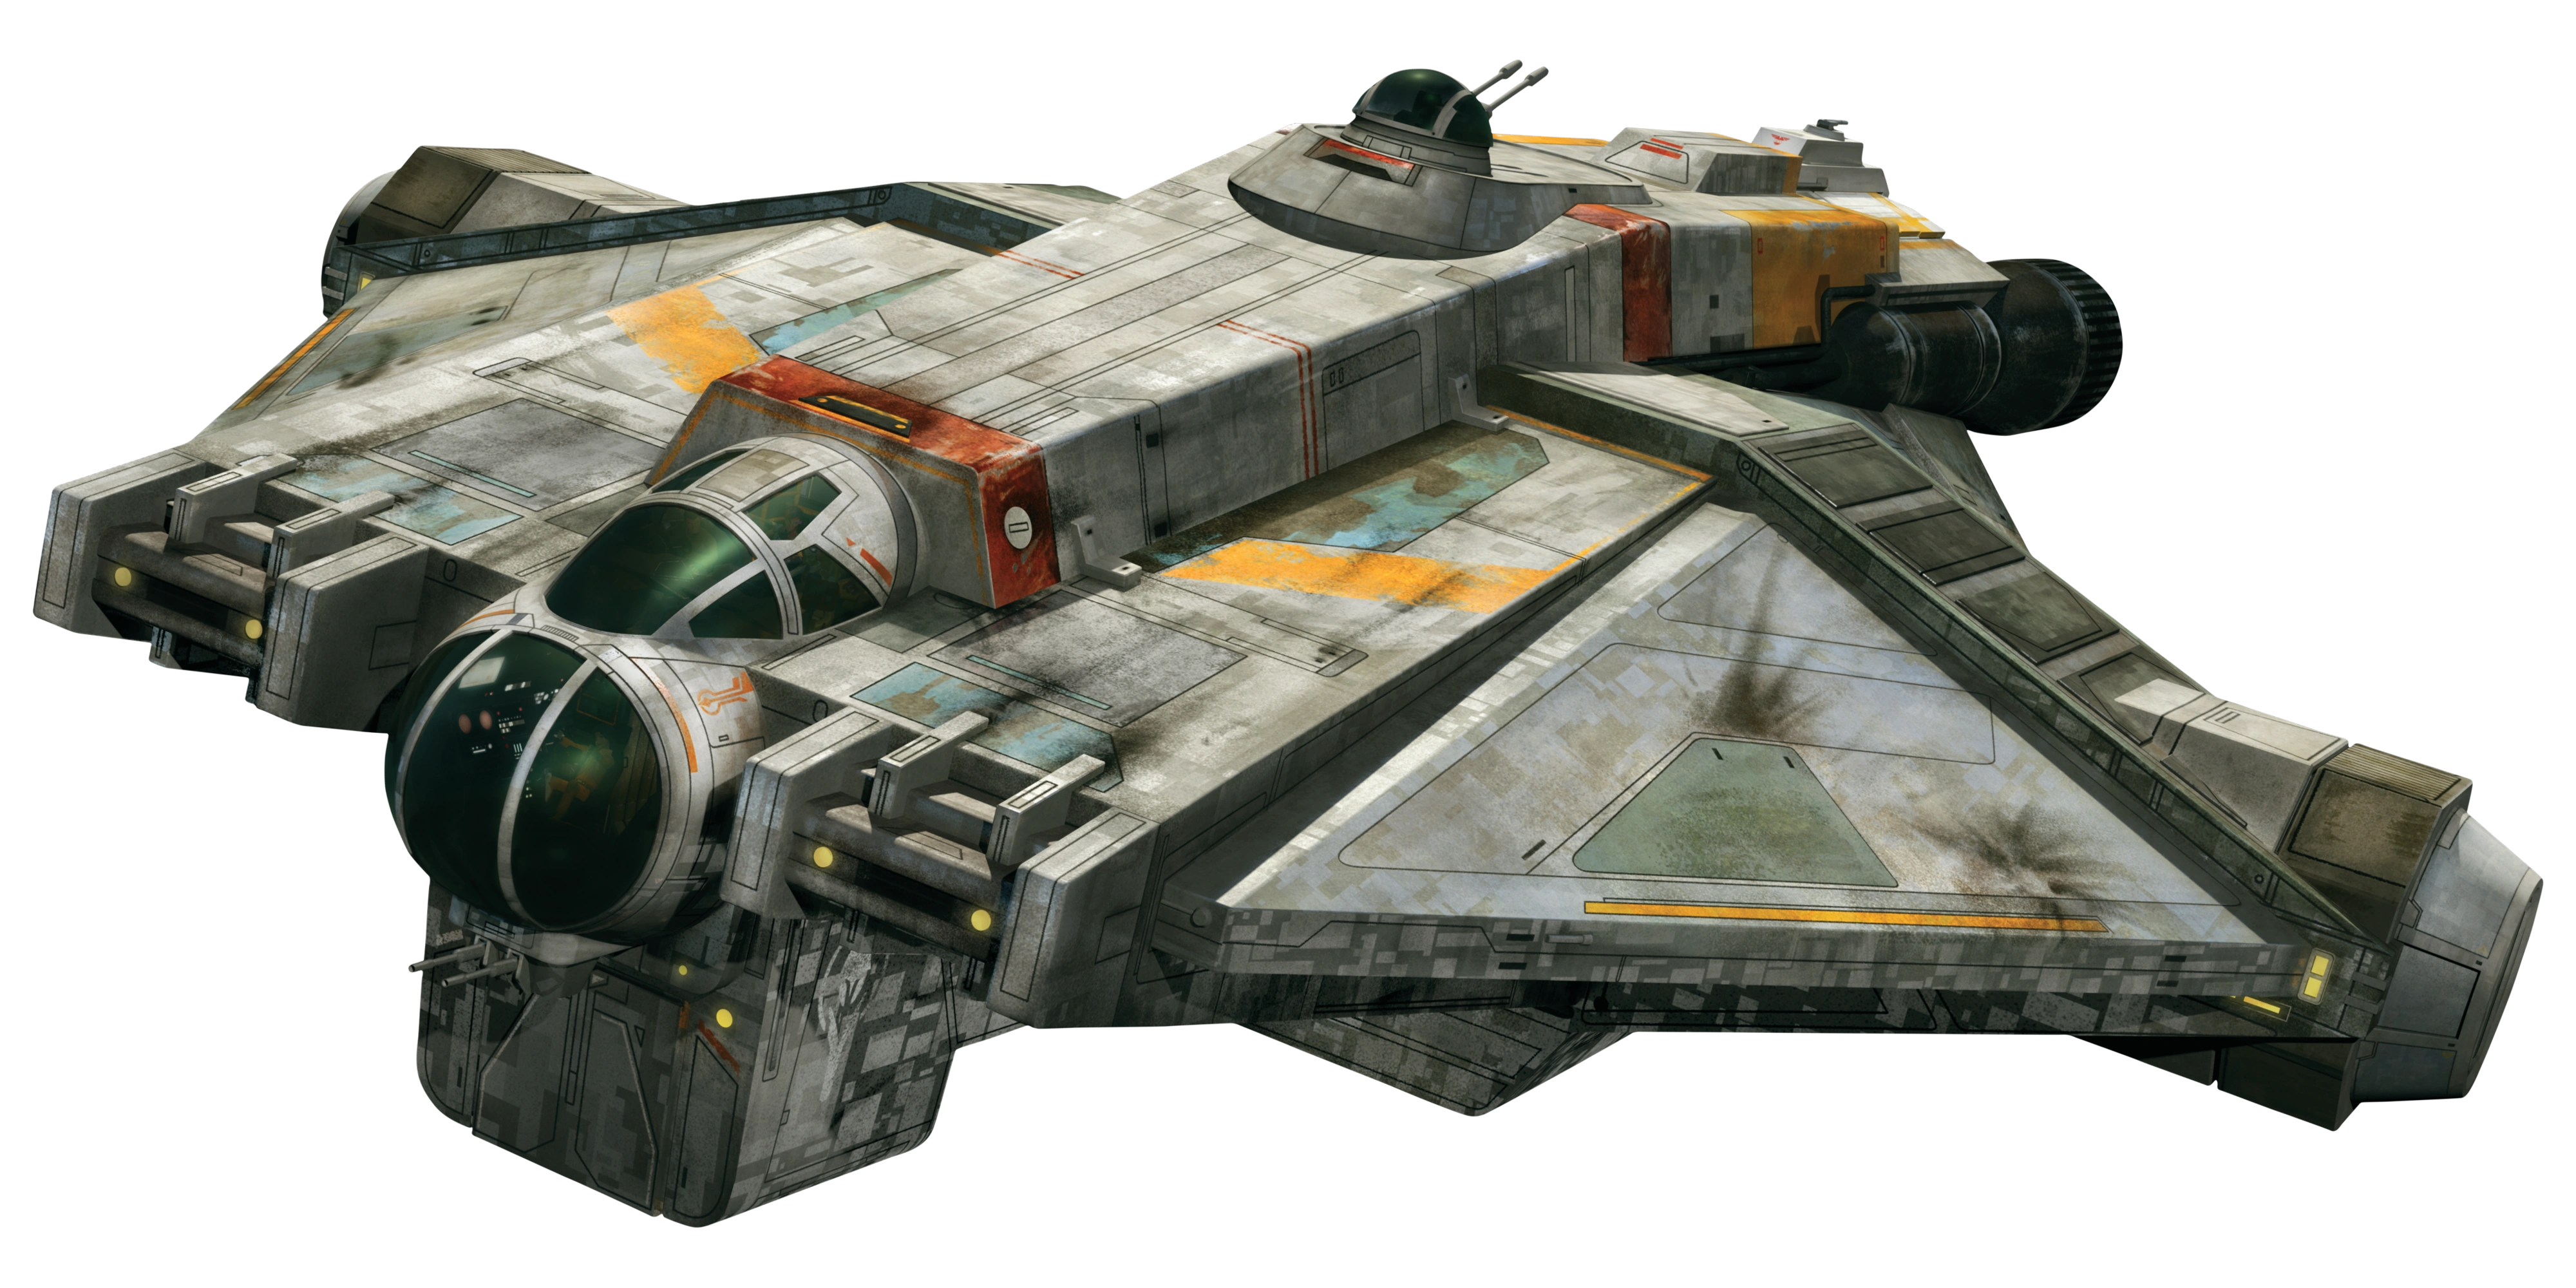
I found some small SW ships (Aluminum Falcon, The Ghost & Slave 1) @ Walmart for $4.99 - Diecast by Hot Wheels & with a bit of paint they go from this:

to something more like this (still got a few coats & some air brushing to go, but you get the idea):

Note: It’s still wet, so the dark lines will lighten considerably when the water evaporates and leaves paint on the edges where it will pool as it dries.
I didn’t grab a “before” of The Ghost, but even a few touches of paint helps - I still have a bit of work to do on the base coats and will add some blaster scoring marks on it once I finish up the base on the falcon as I’ll need to break out the air brush for those:

(If you aren’t familiar with this ship from “Rebels” here is a marketing promo for it, and thanks to marketing it looks a bit better there than what I started with - and here is, I think, a promo from the show by the big D.
14 Likes
I’m still plugging away on Doctor Strange, but I took some time to help a friend with her Rey outfit.

I made the shirt, the wrap is just some crinkle gauze I had on hand, the pants and belts are altered thrift-store items. She’s working on the staff and the bracer, and I repurposed an ancient thrifted purse for the belt bag.
21 Likes
It is always amazing what a simple wash can do to make space ships go from meh to lookin’ good.
4 Likes
kind of the most important thing, floating
2 Likes
Wow, there are some seriously talented people here!
11 Likes
Finally have a milestone completed in the kitchen:

Drywall is totally done, and primed. Not pictured, backer board is cut and partially screwed down. My homework this week is painting the ceiling and maybe start putting color on the walls.
19 Likes
Wow, starting to look really, really great!
4 Likes

8 Likes
Looks great! I have done enough drywall myself to know what a pain in the ass it is to get it to this stage.
What kind of color or colors are you going with?
3 Likes