Now I want to do an “outie” one for my cats.
10 Likes
That’s a good idea, basically a removable bay window.
Maybe that’s my next project.
7 Likes
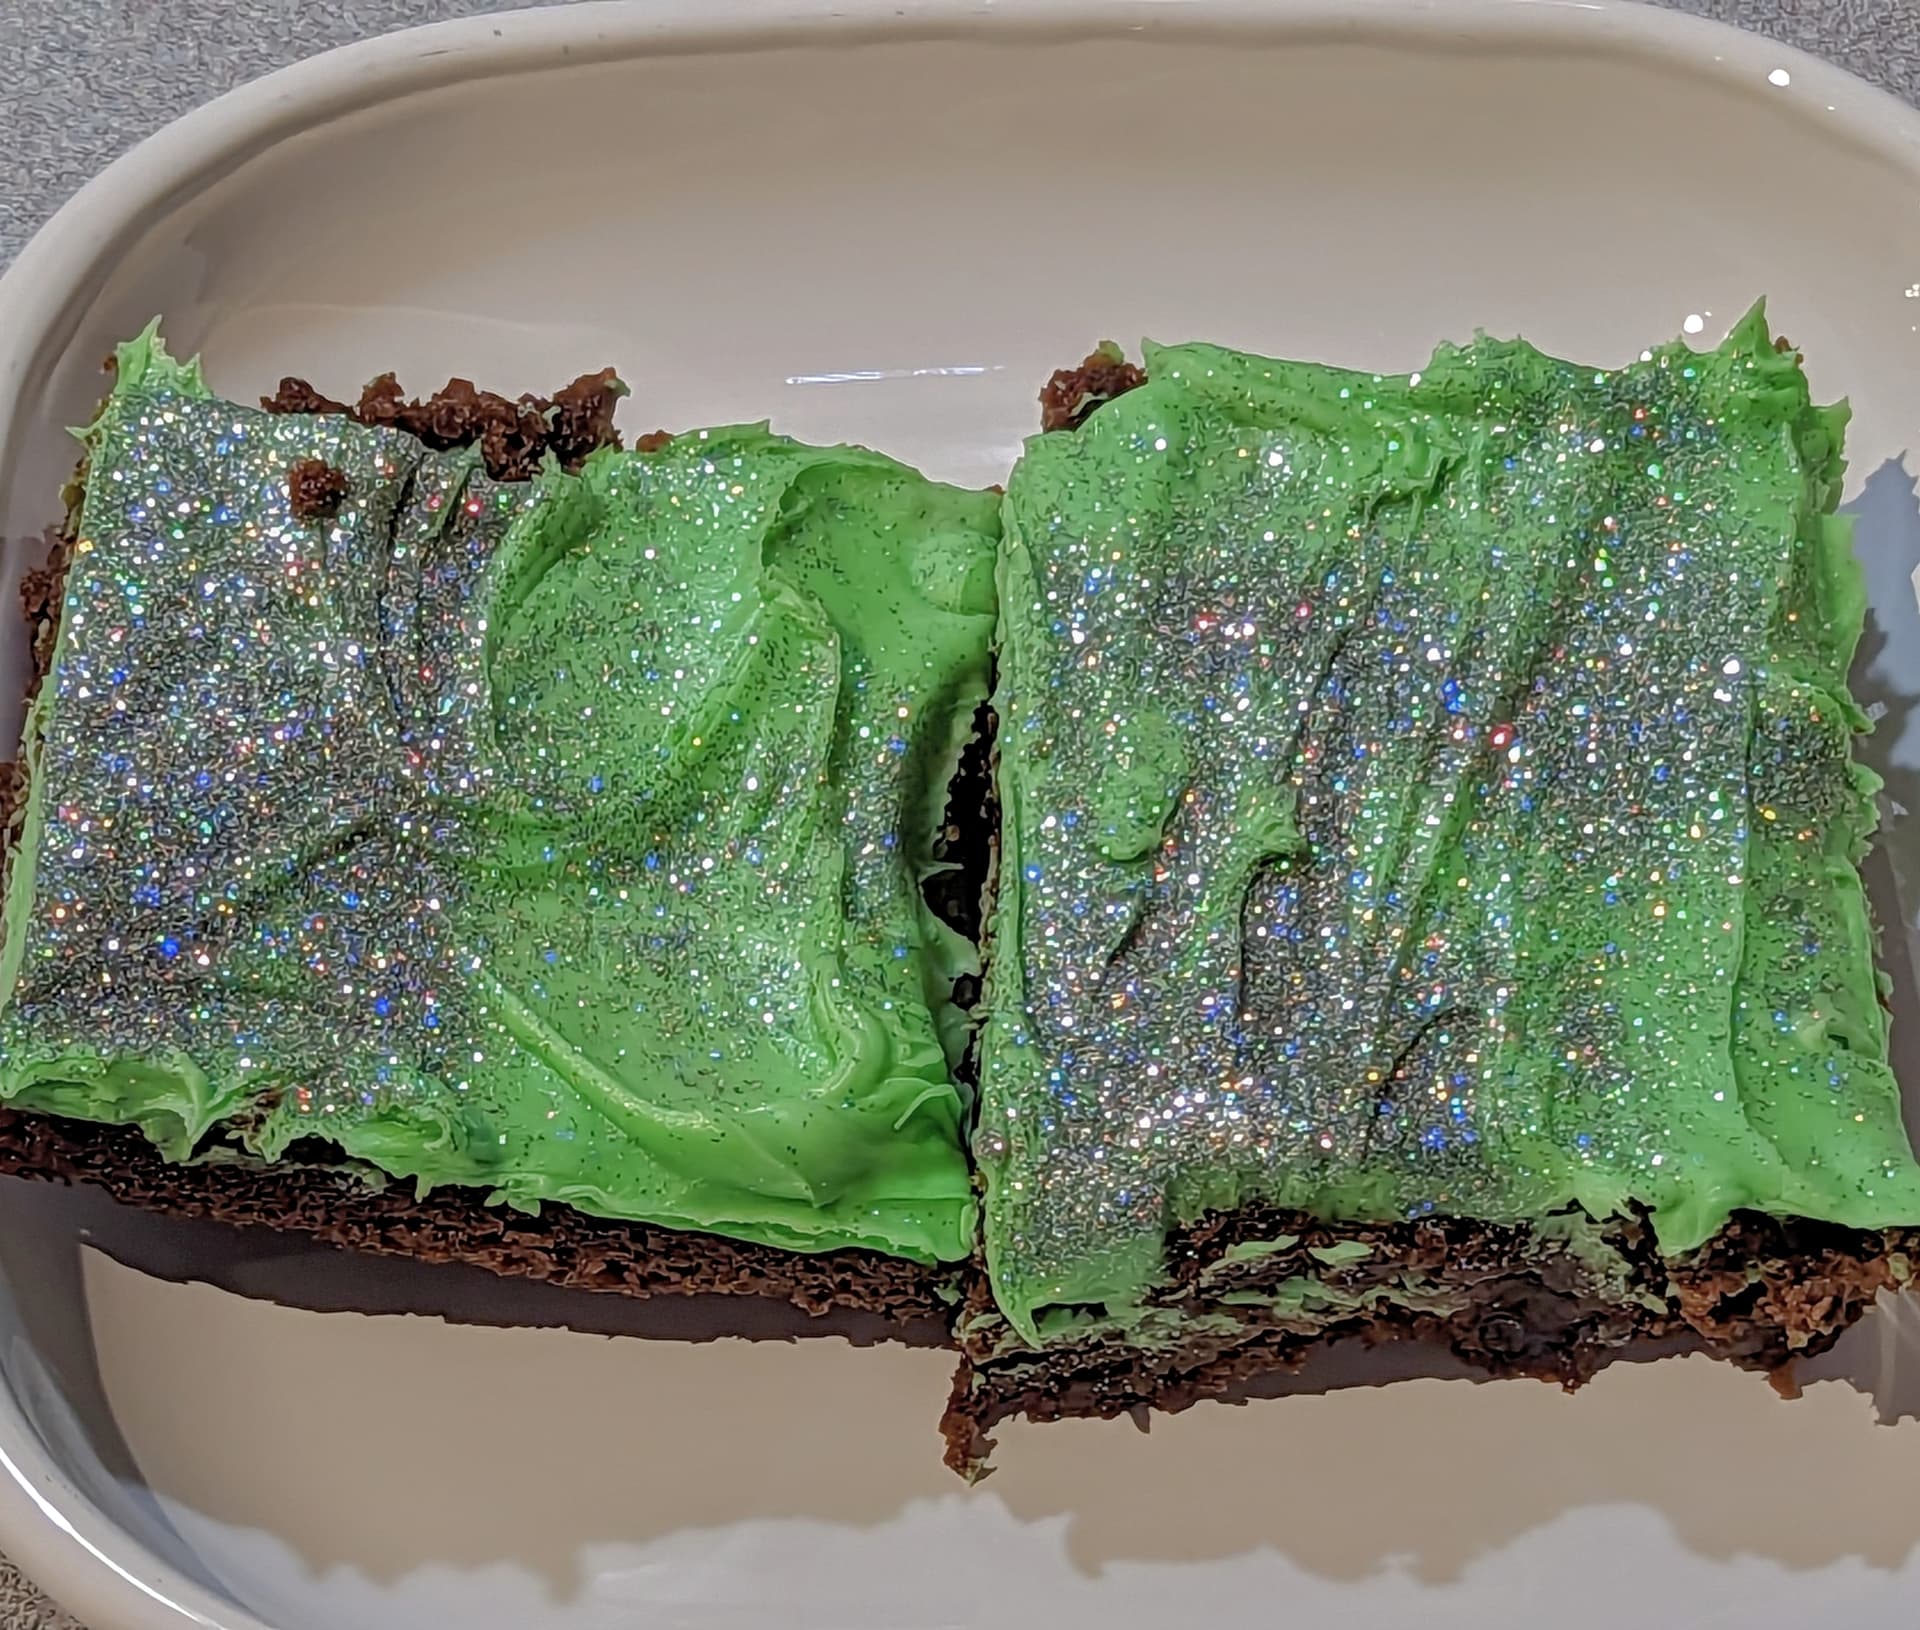
I hope that’s food grade glitter!
![]()
5 Likes
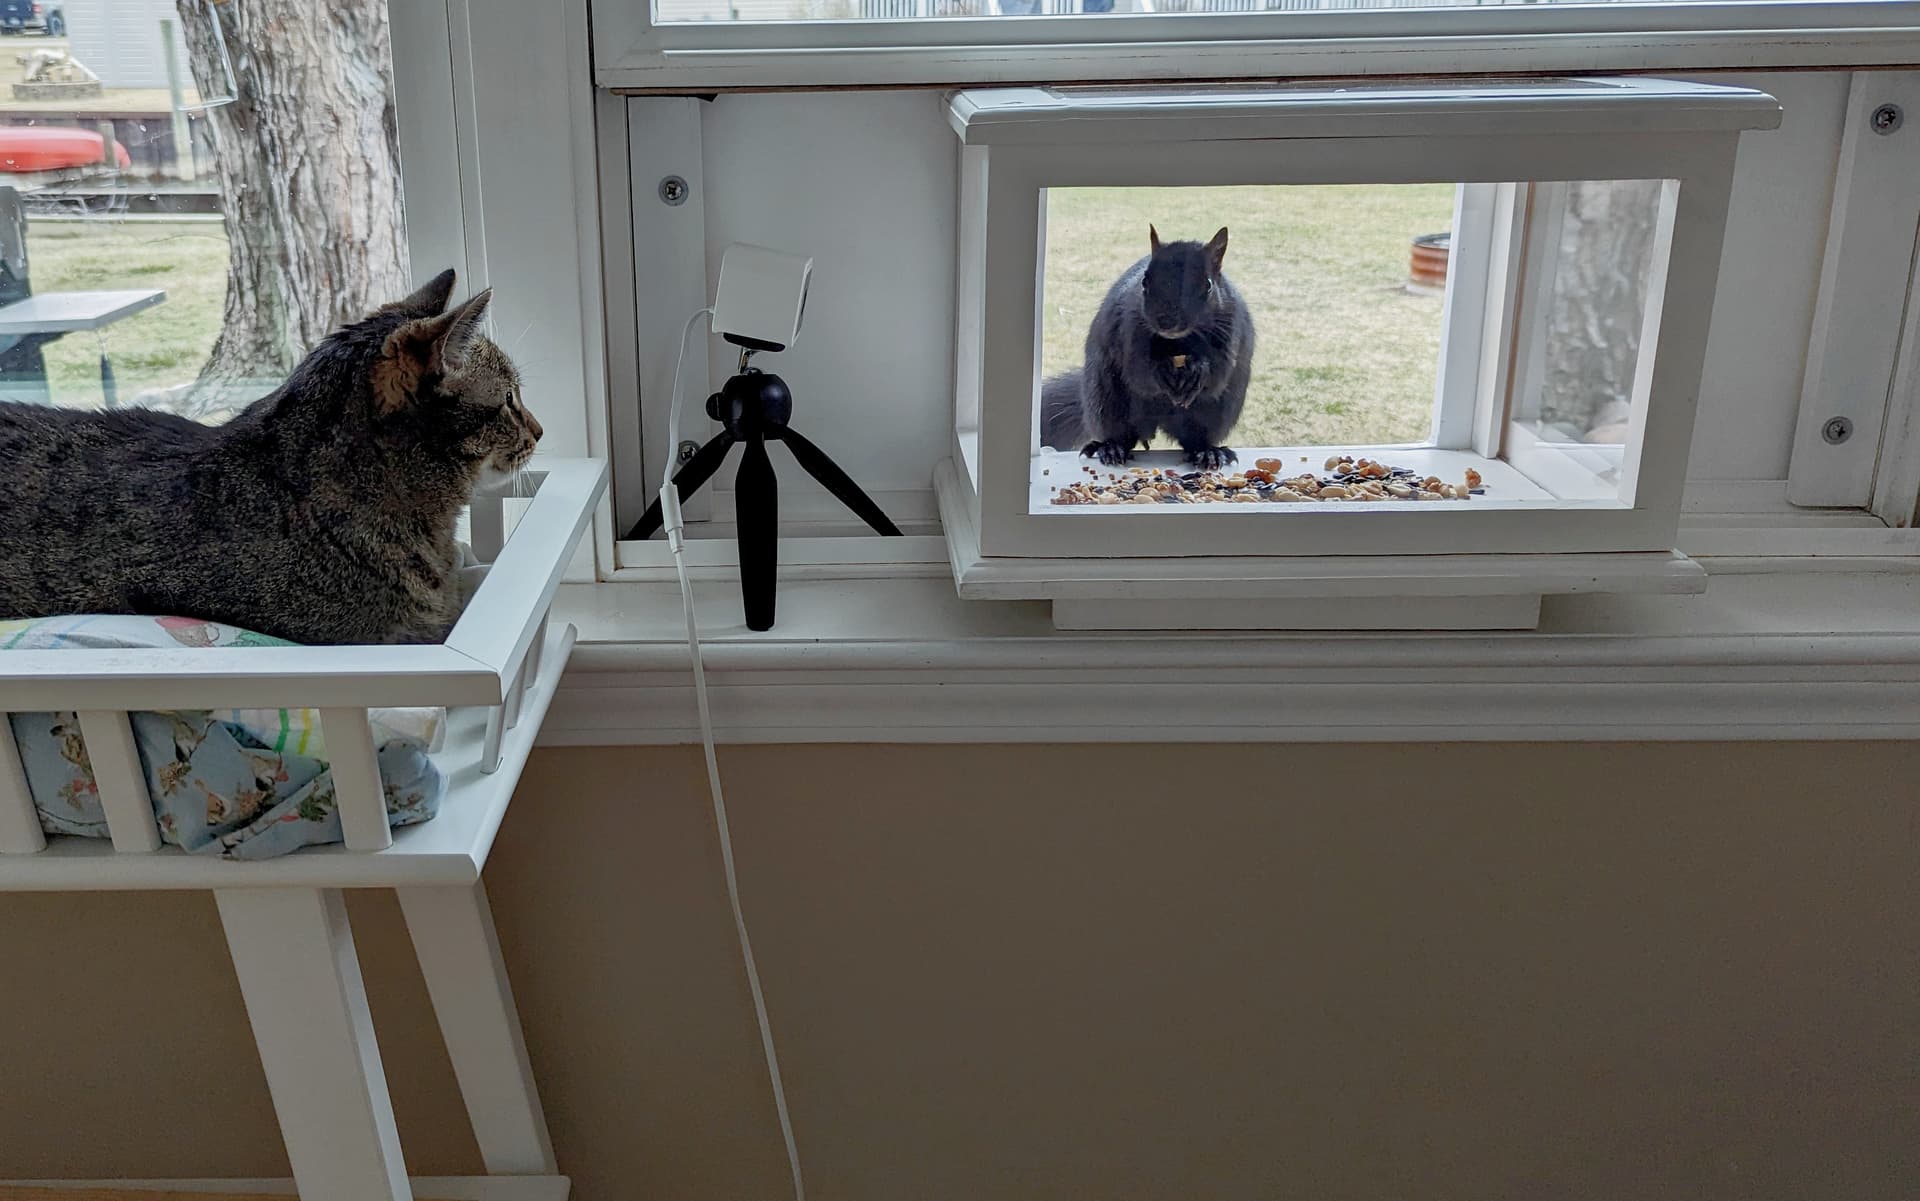
It’s done. I’m pretty pleased and my wife loves me more so win win. Now we wait for visitors.
If it attracts birds I’m thinking about a second one with a much smaller entry hole on the outside, maybe we get a nest and babies.
It’s weather proof, bug proof, and the window still locks.
It can be removed in about a minute from the inside so when we go away we can take it out.
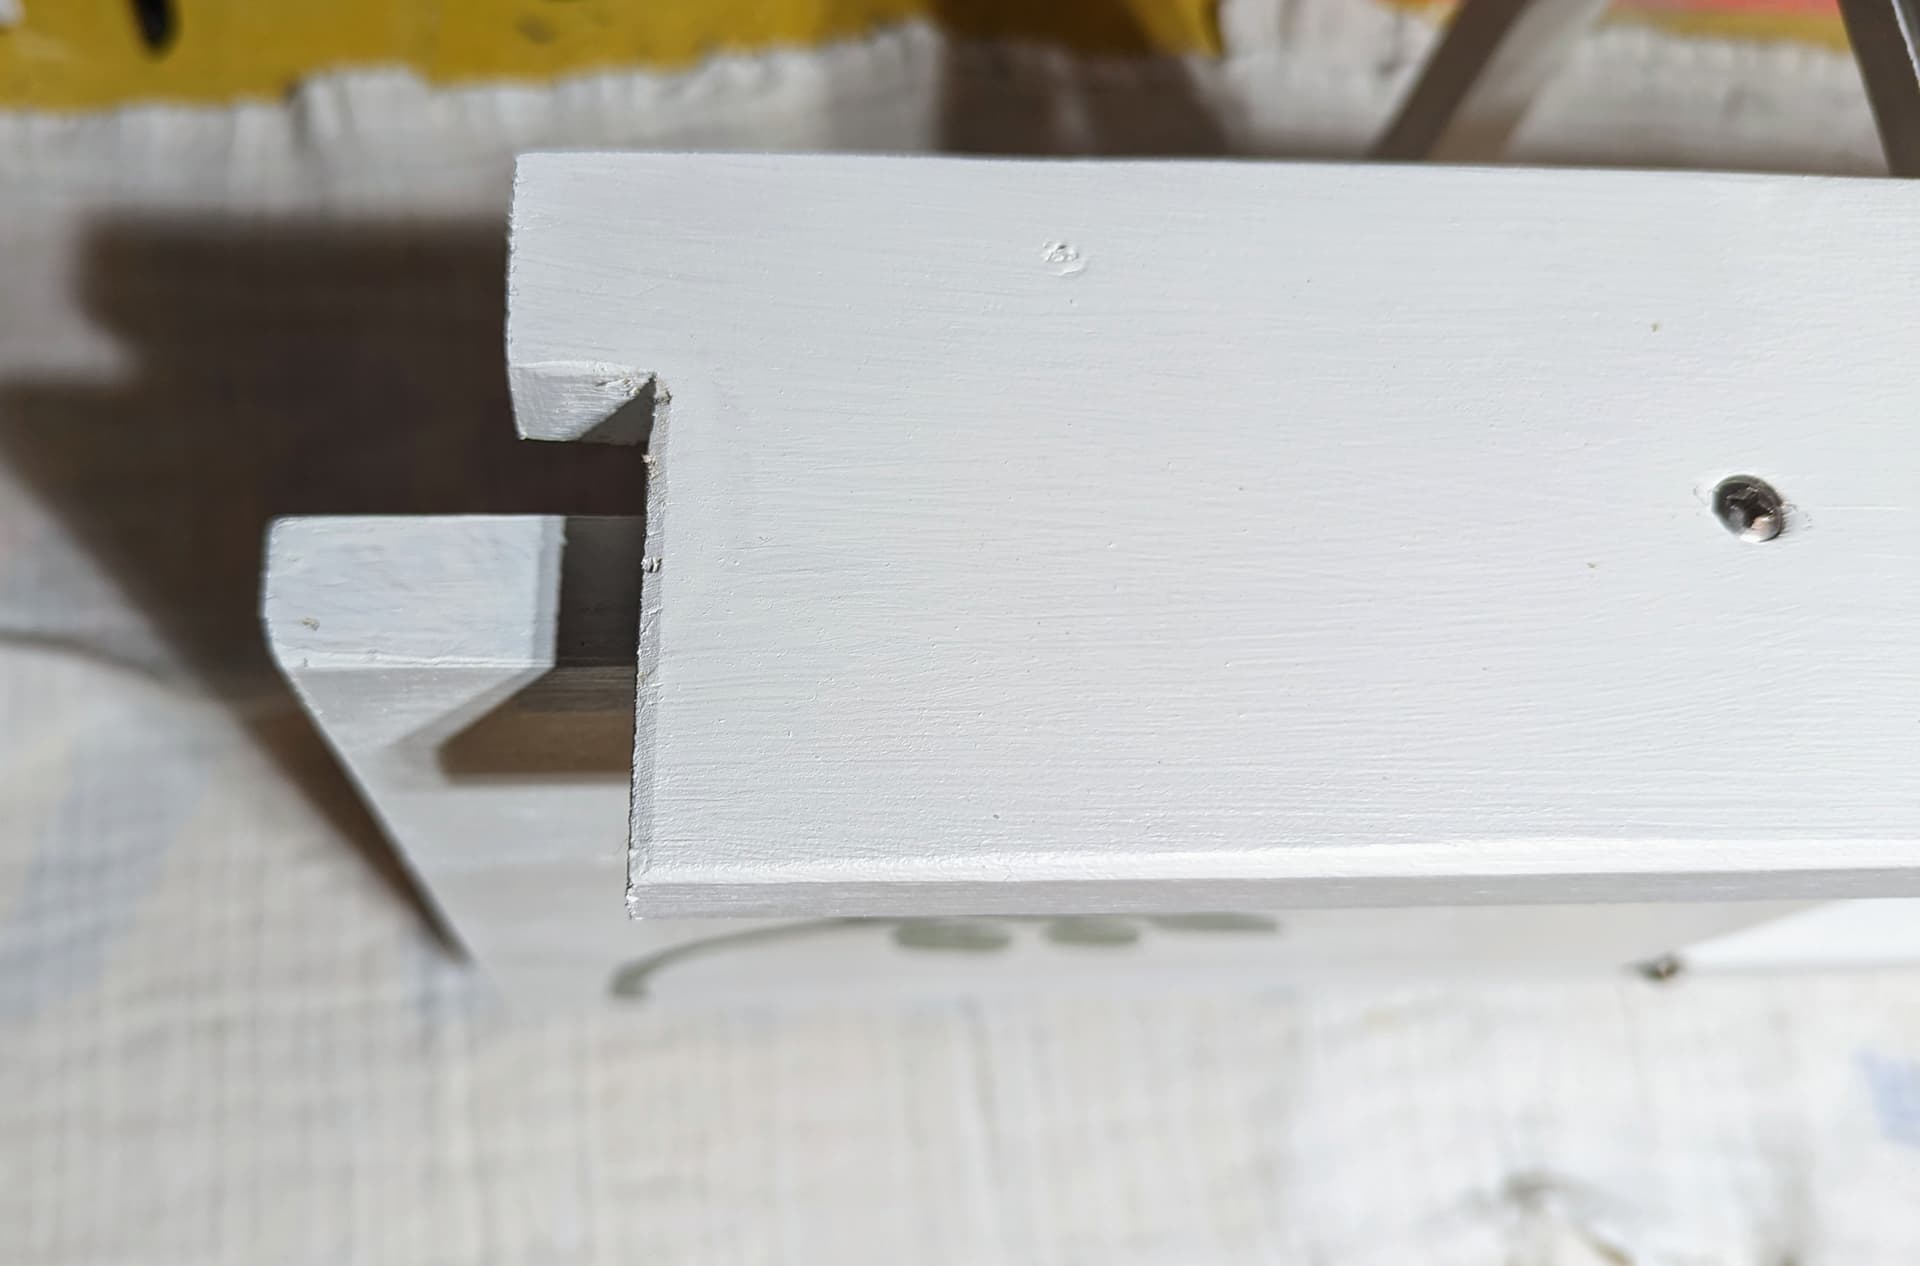
It’s held tight by 4 bolts screwed into threaded inserts. You can see the bolts in the first photo. There is also a board on top that hooks into the window track. It’s pretty air tight.
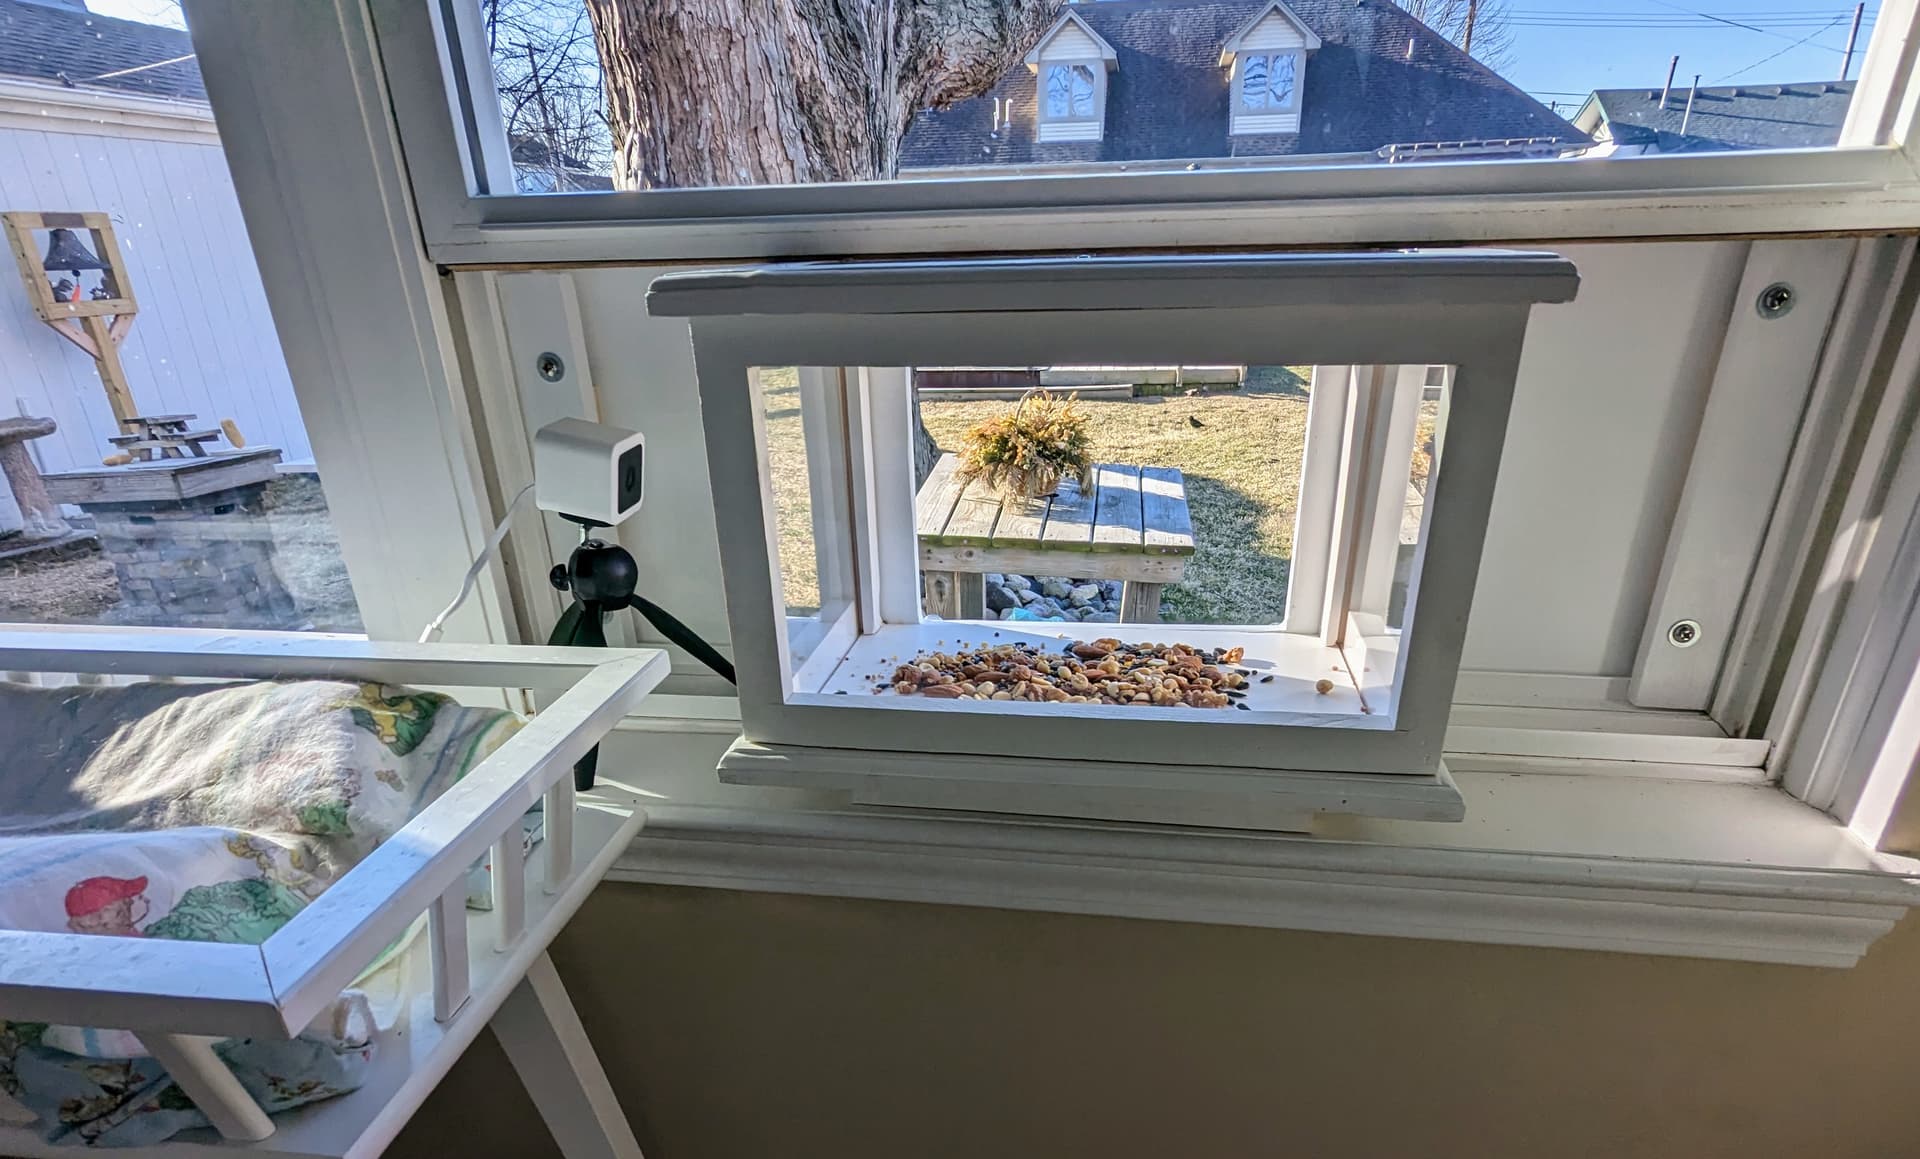
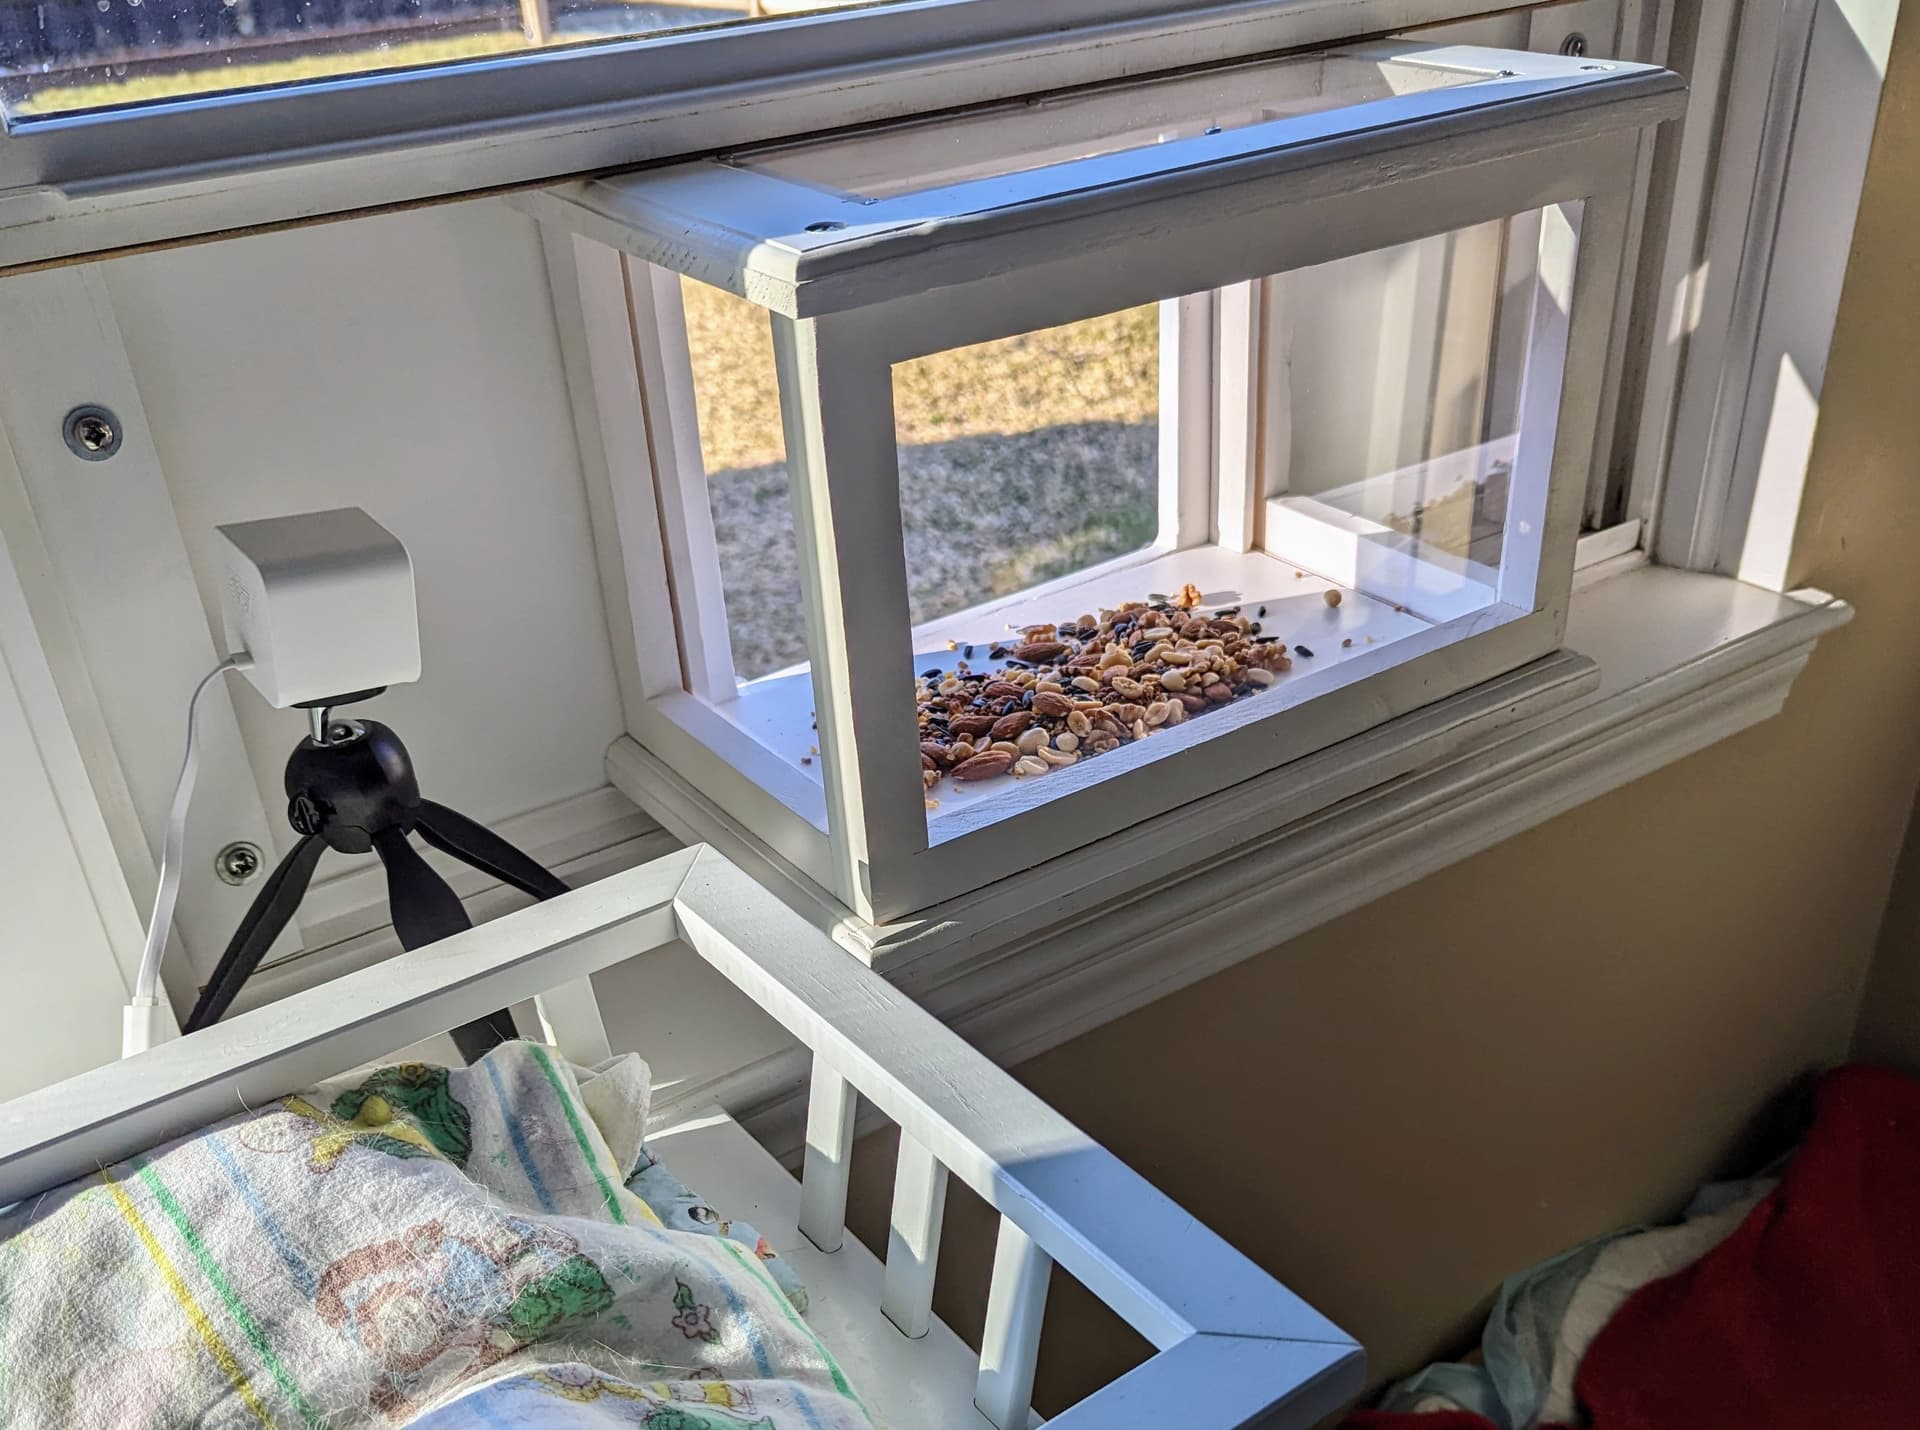

Of course there is a camera watching, we have bets on who comes first, my money is on the squirrel. You can see the skylight I put in for more light and better photos.

The Cricut helped out again with the stencils.

This is the top board that hooks into the window track on the outside.
22 Likes

5 Likes
I see that camera ready and waiting!
6 Likes
Live feed anywhere?
6 Likes
I bought into Wyze way back when it was a Kickstart project so I have a ton them, they’re great for personal use but too many hoops to jump through to steam to YouTube.
If this sees a lot of activity I’ll get a camera specifically for streaming and play around.
5 Likes
I have a couple of Gen 1 Wyze cams. They’re great, especially the ability to scroll back in time to see stuff. The new ones require a subscription for the same features, that were native-standard. ![]()
4 Likes
You can still get the subscription for free, they have a pay what you want opition and you can select $0. I pay 3 bucks a month for a couple cameras just in case I need security footage, all the others have SD cards installed so I don’t miss anything and there is no limit to recording length.
Of course if someone steals the cameras I’m out of luck but I do have so actual hardwired security cameras with a huge hard drive in a DVR.
The latest Wyze Pan Cams are awesome and weatherproof, I have two outside where they see rain , snow, and all sorts of temperature extremes. They have improved the nigh vision so much that I don’t even use the IR light anymore. For 40 bucks you can’t go wrong.
4 Likes
Success. More photos here.
20 Likes
My cats would go apeshit over that. ![]()
9 Likes
My wife watches all those make over shows, she decided our bathroom needed a make over.
We did the average people make over.
Paint, new drawer/door pulls, switch covers, towel rack, fancy tp holder, and light fixture. About 150 bucks, paint was the most expensive.
We got done and the spot over the sink where there used to be a mirror (we turned the old one sideways) looked naked.
Cricut to the rescue again with stencils.
Now I have to put a new floor down in the other bathroom, we bought the tiles about 7 years ago. She says that’s my project next week while she paints, we’ll see.


13 Likes
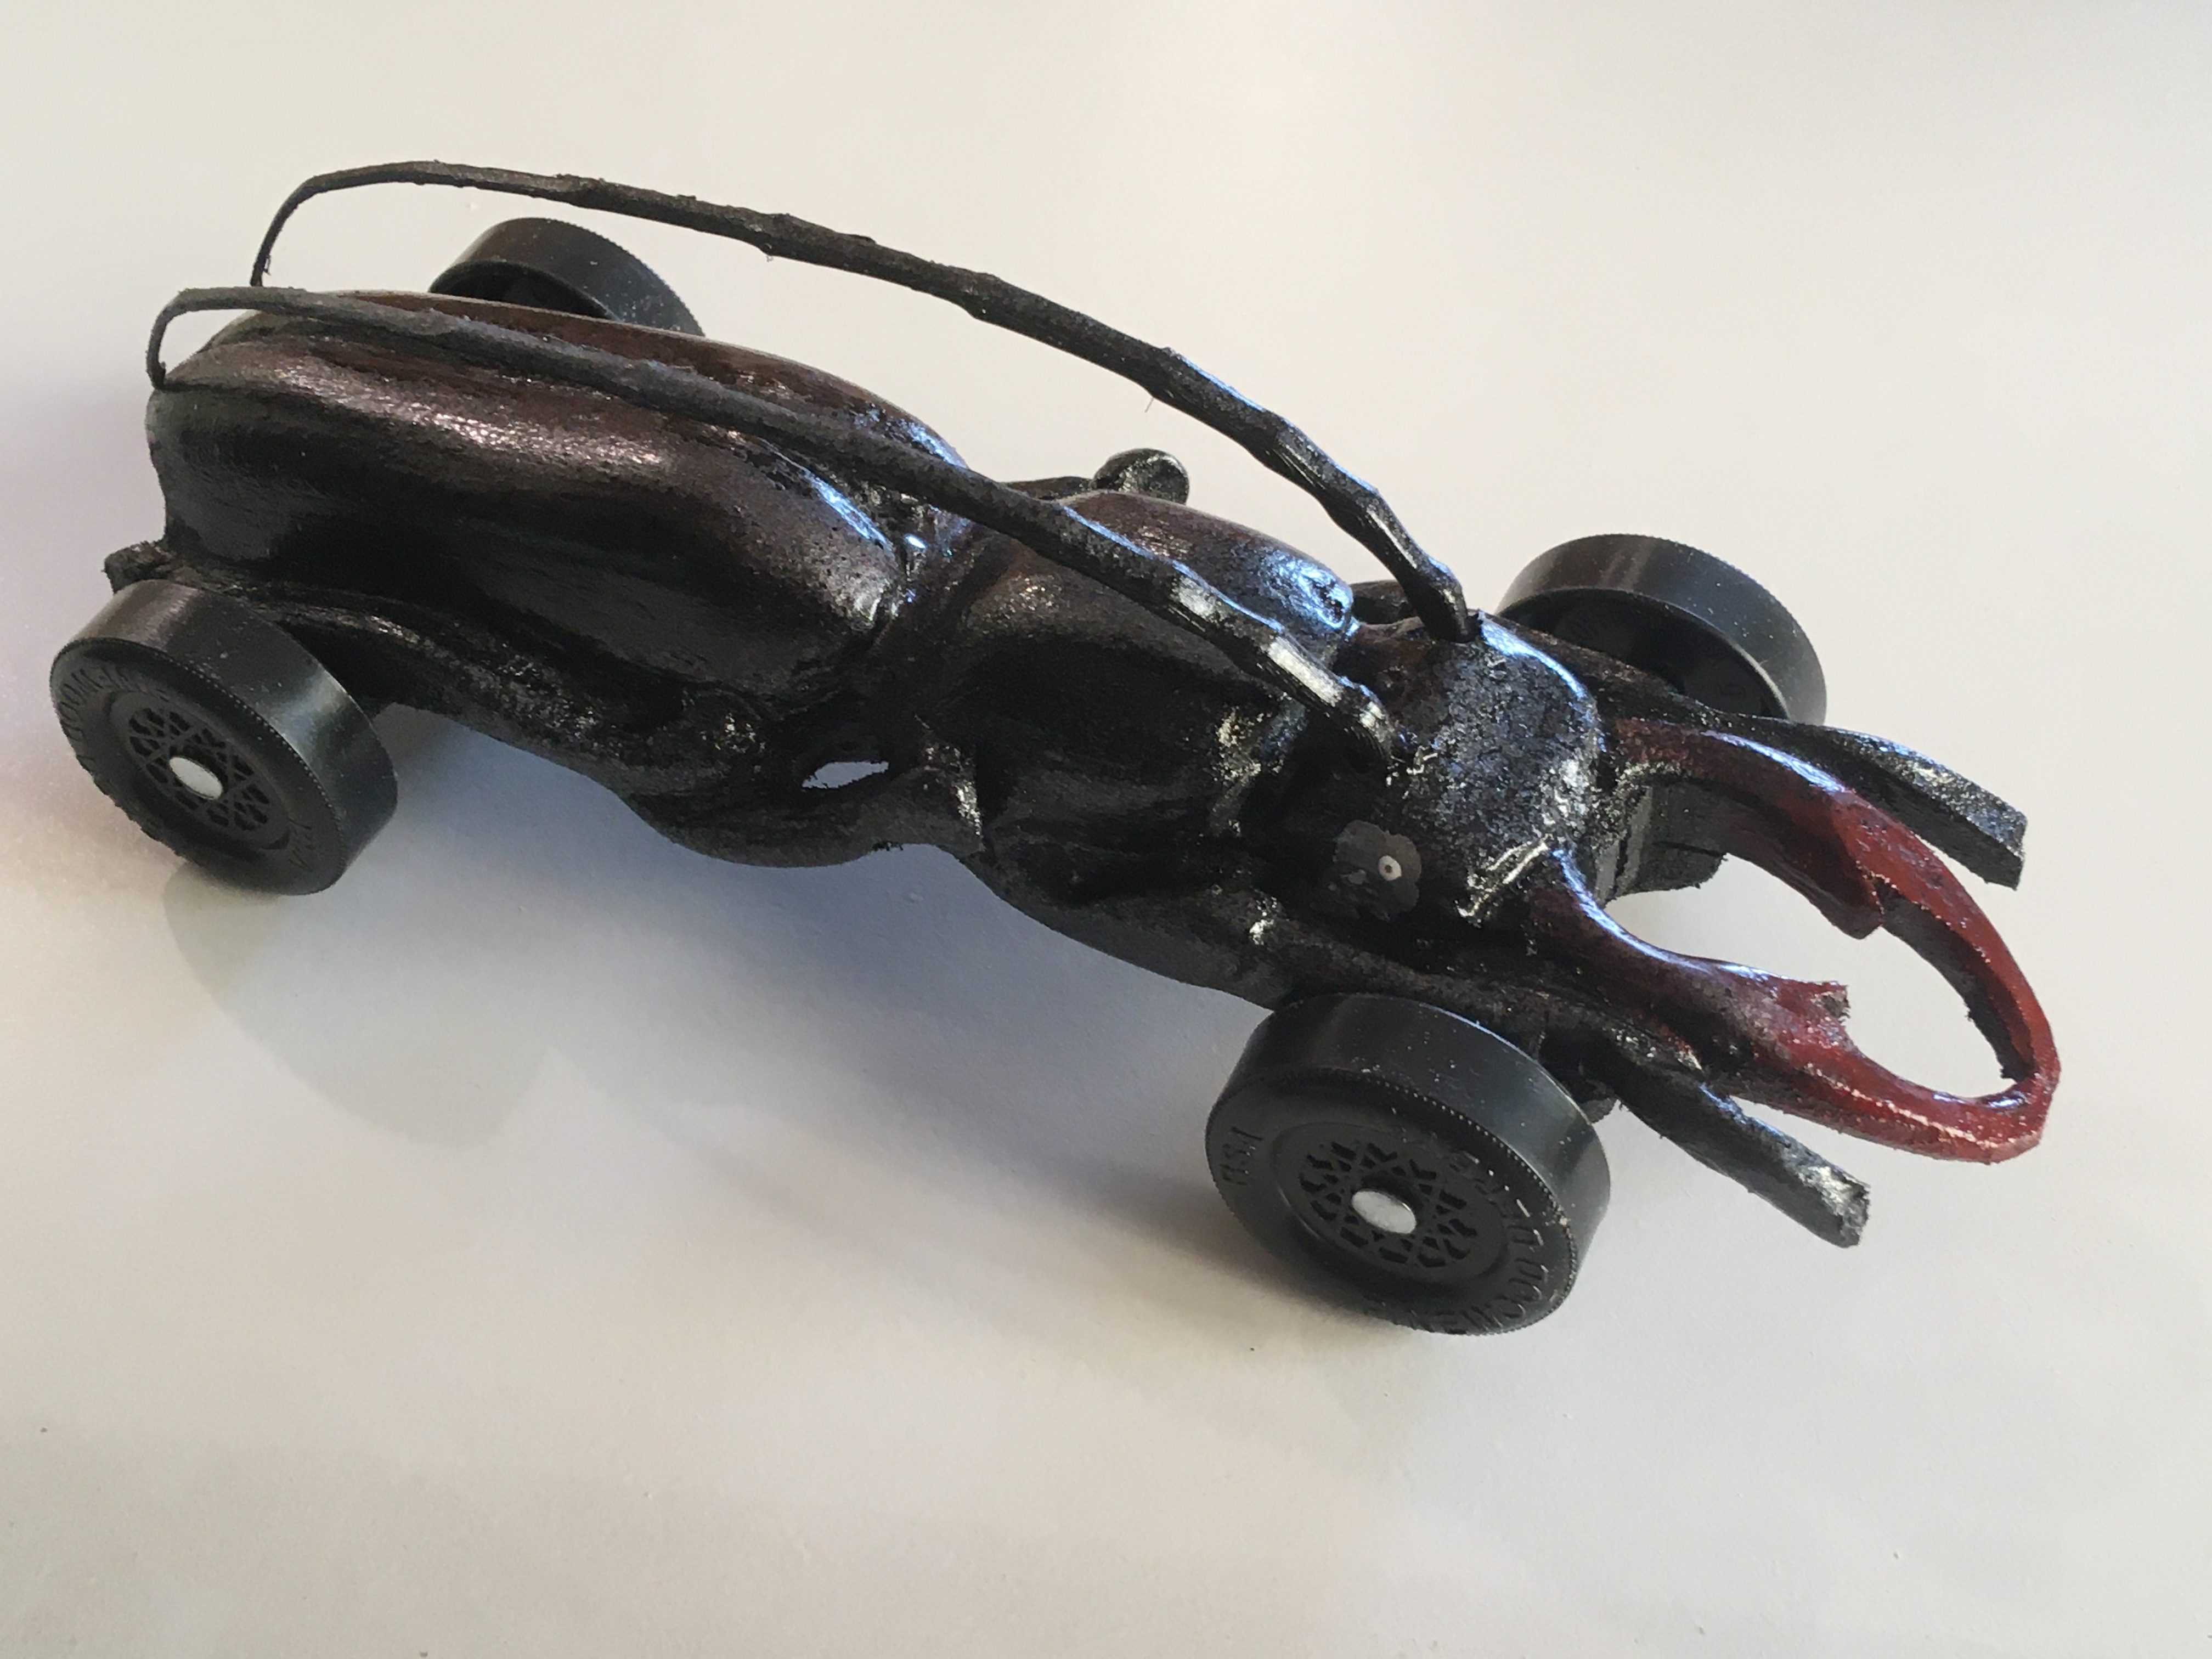
I’d replace the rivet with peened brass rod - don’t forget to anneal the rod first, and remember brass anneals the opposite from steel. I usually do one end first in a jig, to lessen the chance of the rod fattening up and splitting the wood. Alternatively you could go with thin brass tube and make it a lanyard hole, but personally I’d need to practice on some similarly dimensioned scrap first. Whenever I make a grommet out of pipe it works perfect on the third attempt ![]()
Recommend you scrape that green vitriol off the old rivets and dispose of it safely. Then just use wax or oil on the wood, whichever is already on it (looks waxed to me).
4 Likes
I wanted to make some shelves for our second bathroom and I’m just not comfortable putting an edge on something with my, used to be my dad’s, Craftsman router so I pulled the trigger on a router table and matching router.
Never used one before so I was practicing today. This came out nice but I had to reset my safety sign, honestly, it rarely goes above zero. When I review the table and router I’ll let everyone know that blood cleans off the top nicely.
I do have a nice set of bits, also my dad’s, but the cheap trim bits I bought on Amazon are going to be replaced by some quality bits. 20 buck bits don’t quite cut it.


It wasn’t all that warm, maybe low 40s, but the sun was out so I could move part of the shop outside.

It’s also a nice whiteboard I can take notes on.

14 Likes
Yikes! I’d be afraid to route the heart on a table. I think I’d rather find a way to fix the piece in place and use a plunge router / trim router to do the inside edge.
2 Likes
It was pretty easy. I had a 1/4" thick template stuck to the top but first I used my drill press and forstner bit to remove must of the wood.
I think a quality bit would have made it easier but it seemed pretty straight forward and safe. I’m putting one of these on my Father’s Day list for the smaller stuff to keep my hands a little further away.
Is there something I’m missing about the safety of doing cutouts on a table?

4 Likes
Not per say. In my mind though, it would be quite easy for the bit to contact a side of the cutout other than the one you are intending to shape, resulting a sudden change in direction that the work piece wants to move. Having a small piece like that jerked around, potentially sent flying and fingers being pulled into the bit just gives me the willys. That Rockler work piece holder would make me feel a lot better about it though! I may have to check that out myself!
3 Likes